 |
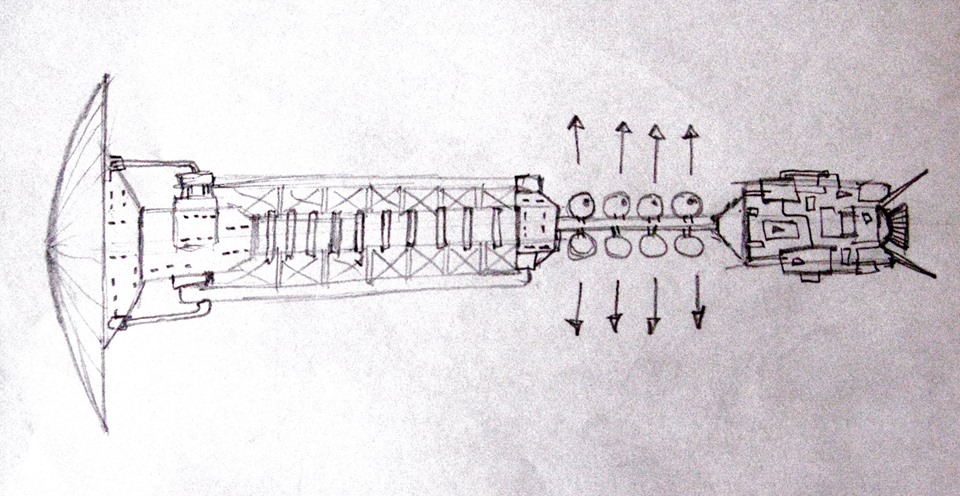
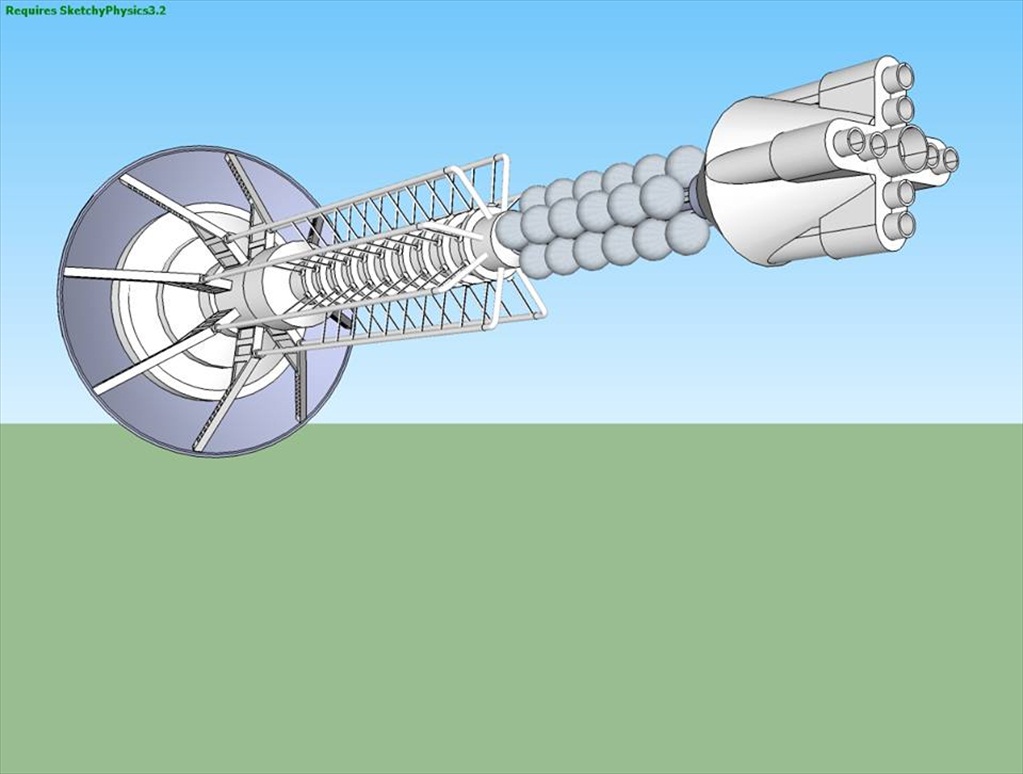
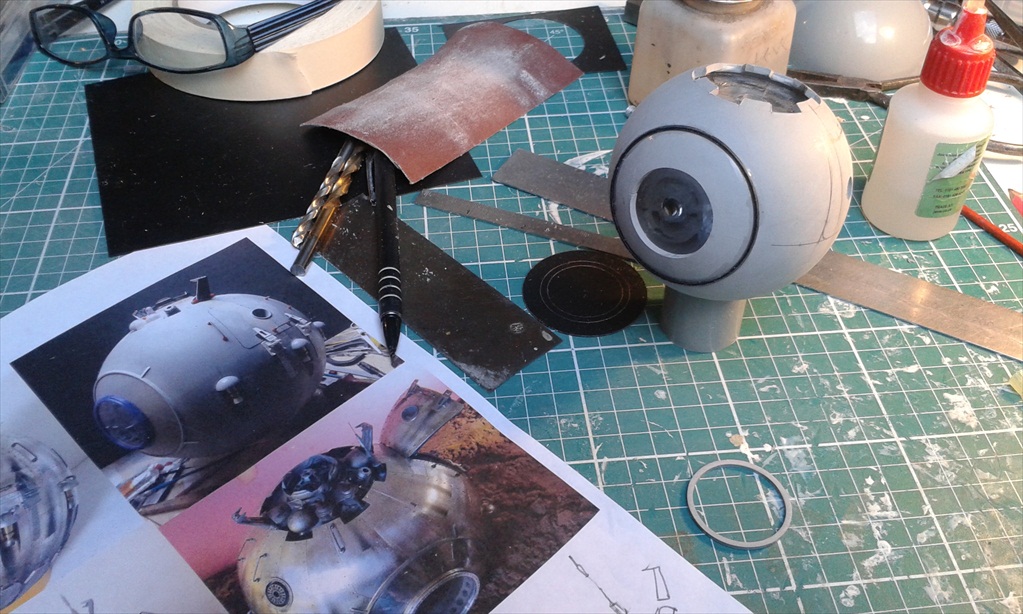
I printed some images to the size I needed
|
 |
Mounting point in the top was abandoned after I filmed an
orange tumbling past my instant camera with a mounting point off-set and
underneath. The test James did, looks great. |
 |
Every detail on the larger one was repeated on the smaller
one |
 |
These handles were swapped for a lighter gauge once I found
the brass I needed. |
 |
All widgets I'd used had to be reproduced |
 |
I think the ratio is a bit out here. The guy would be a bit
bigger methinks - to make it more cramped inside, although it is supposed
to be bigger than your traditional escape pod. |
 |
tiny slices of wire sleeving served as collars around the
handle bases. |
 |
I didnt go crazy with detailing at the back of the pod. There
wasnt the budget for it. |
 |
A coat of Grey primer, then silver. But its still not close
enough, so Foil was the way to go. Continuity is so important. |
 |
Dings and marks created by my own fingernails, wouldnt matter,
as this si tumbling through the shot. No need to stick to the pattern of
panel lines either. Texture and colour is key here |
 |
I couldnt leave prominent details like these
landing retros off now could I? turned on my lathe. |
 |
Finished and ready to ship. |
 |
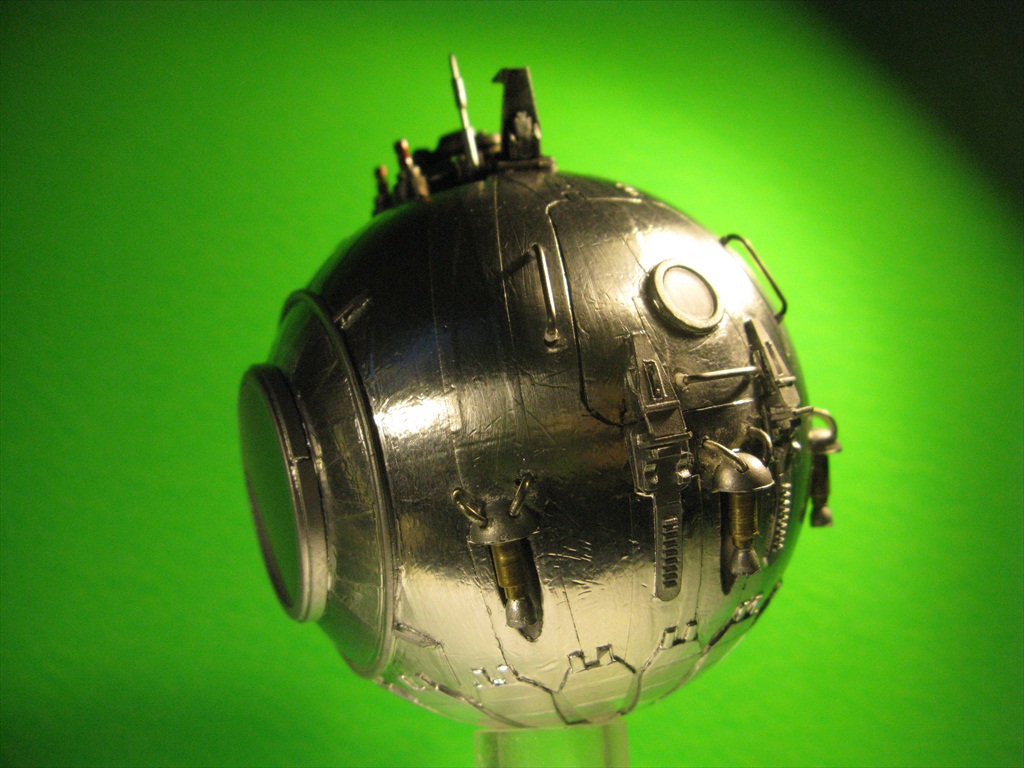
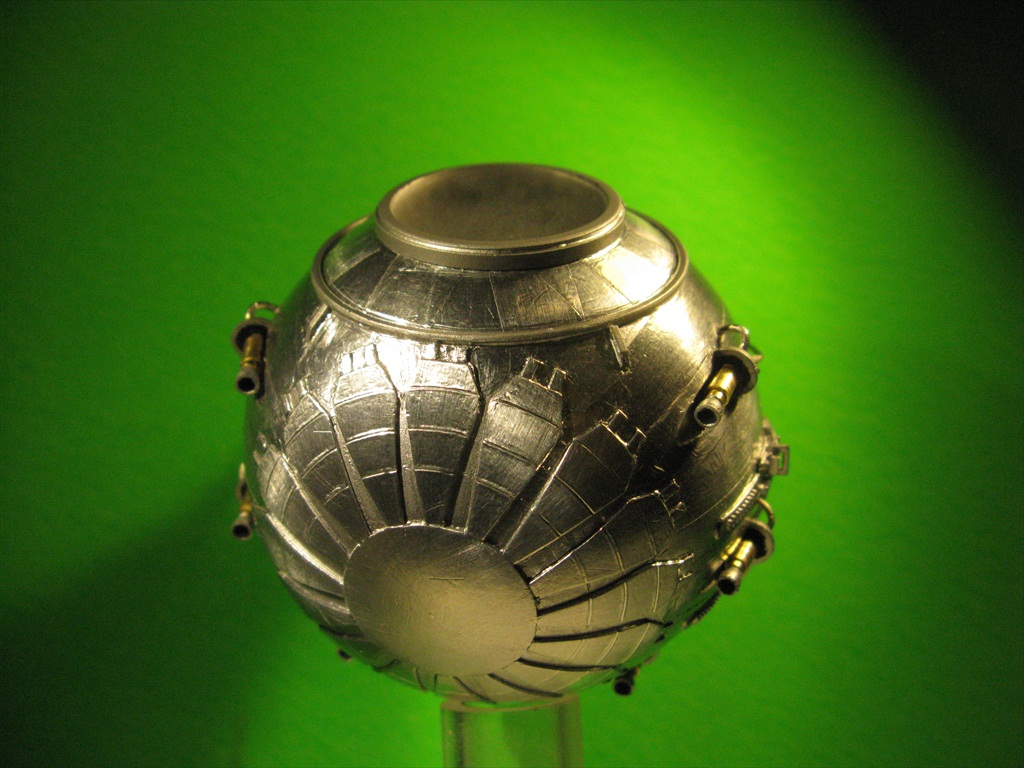
Just shots against a green screen, but this would be a folly, as the
aluminium would reflect the green and you'de get holes in the pod.
|
 |
James shot the test against Black of course. |
 |
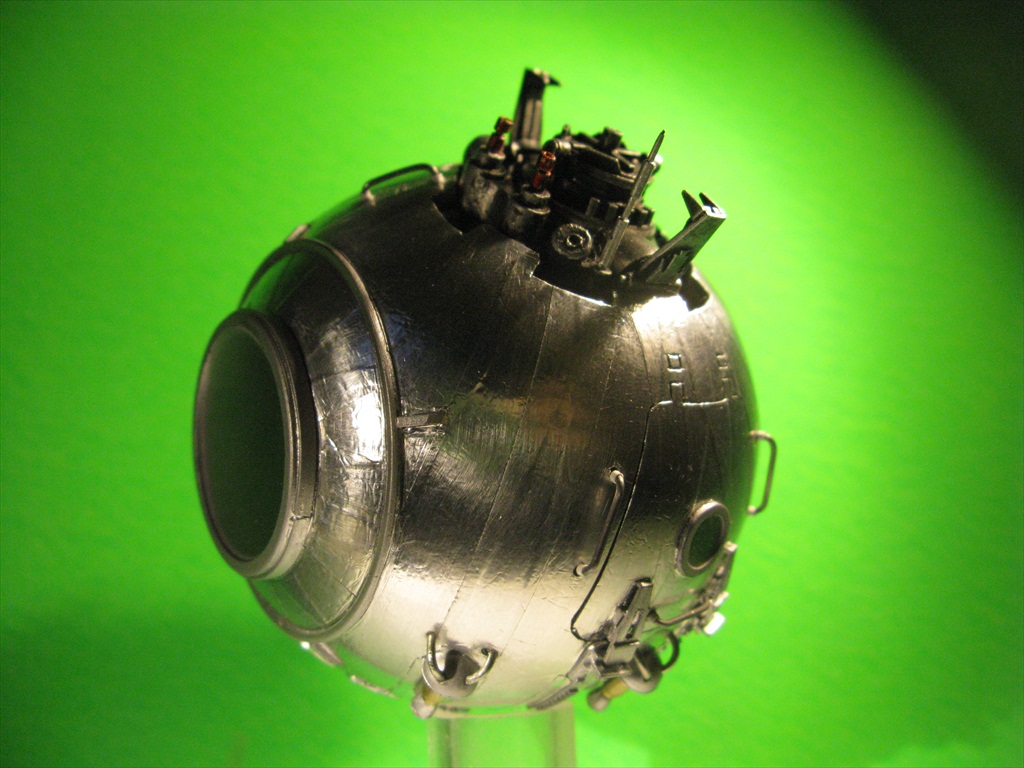
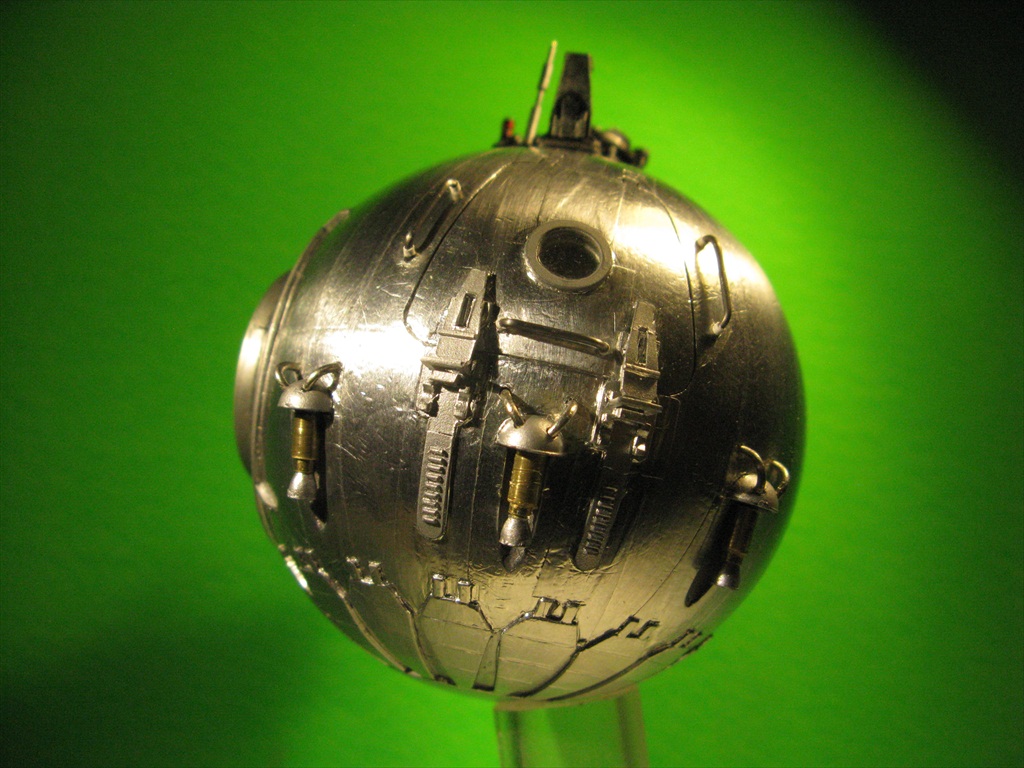
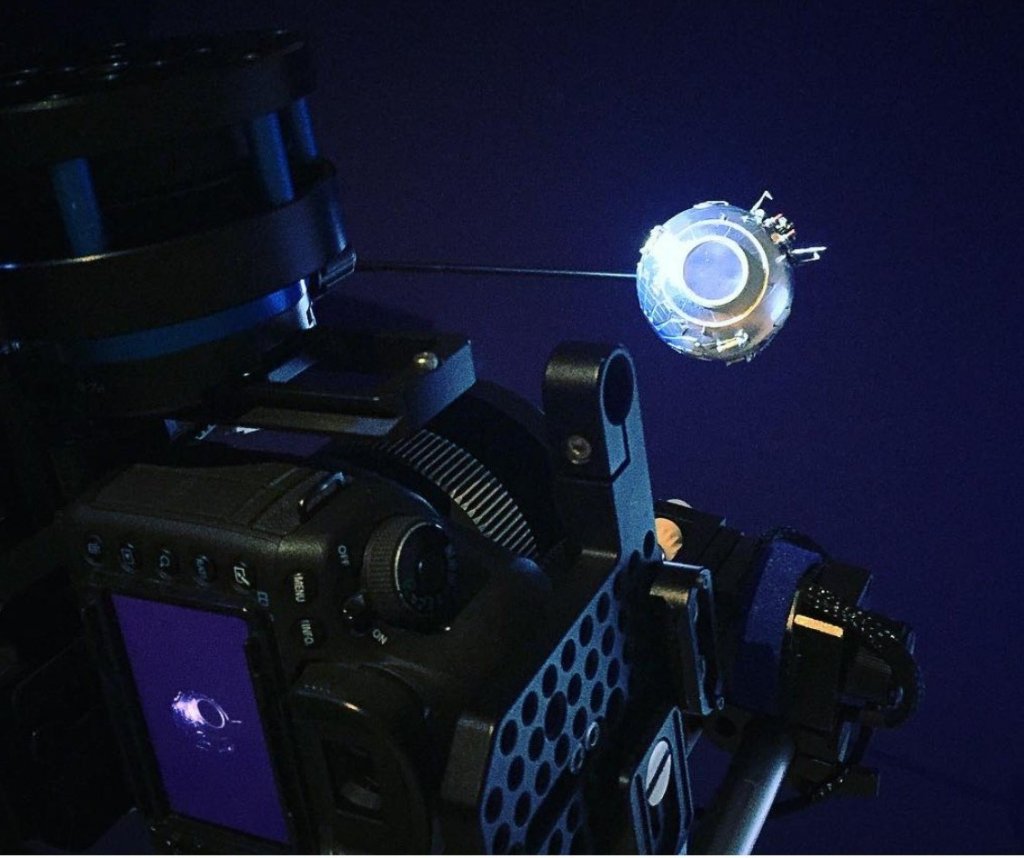
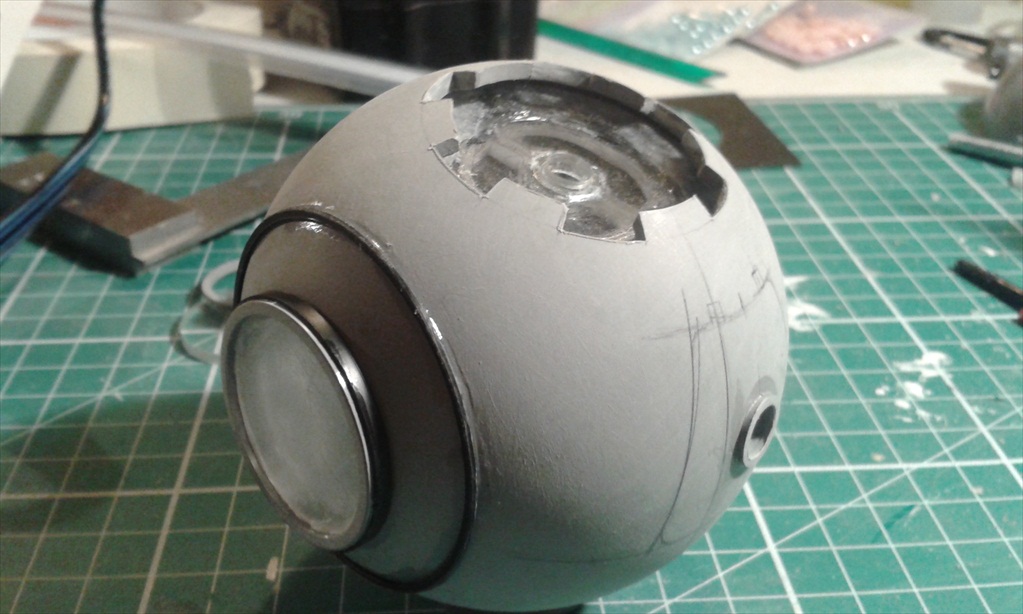
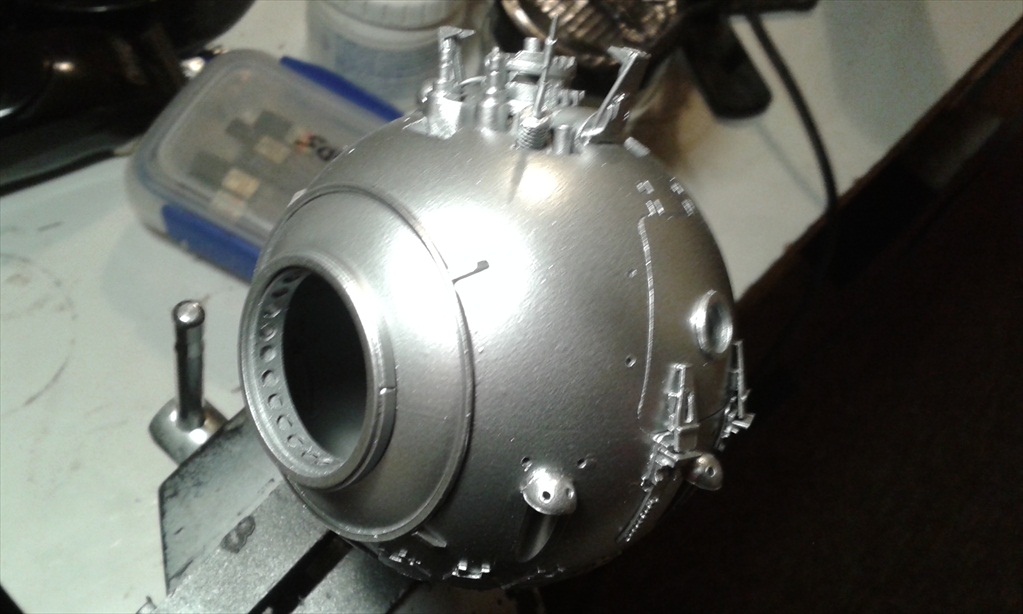
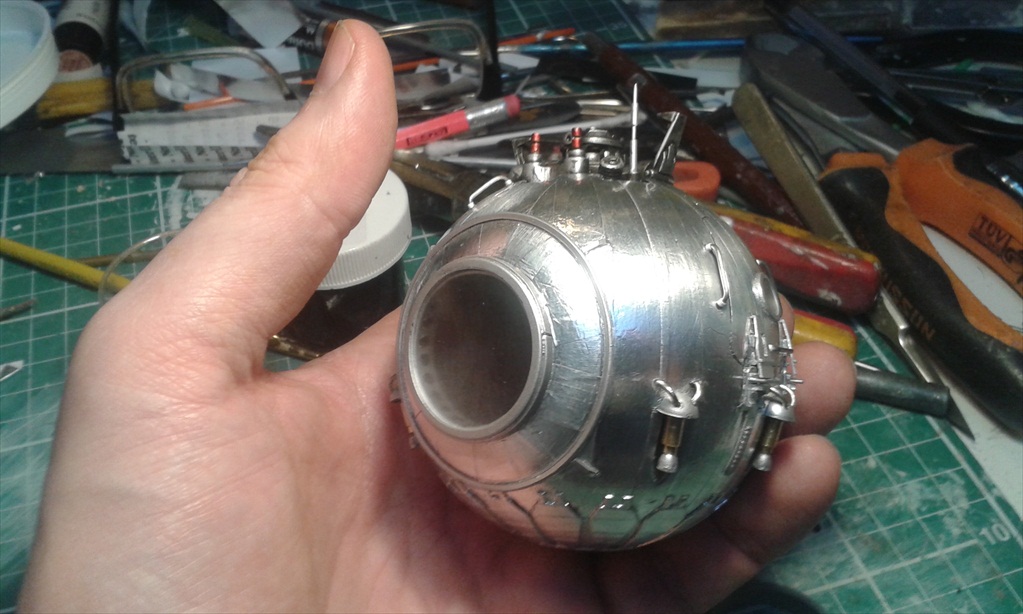
James might pop a light inside that reads through the main porthole and
door porthole . Access is through the main porthole glasing only
|
 |
Tumbling past camera, it will be seen from all angles |
 |
A thumbnail scribble of the main ship the pod might detatch
from |
 |
I then did a rudimentary model in SKETCHUP |
 |
James did a quick render with the file I sent him. If the
budget was there I could use this as a departure point for a miniature. |
 |
James sets up for a test tumble |