Home
Product
Advertising
Television
Films
Sculpture
Quite a buzz to be working on such a famous spaceship. You wouldnt know it from the 'making of' section of the dvd, so this is my chance to redress that.
 |
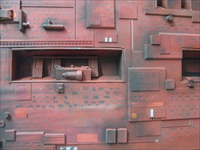
Red Dwarf before I really got going on her. She looks alright from here, but if you go closer (and production intended to) you can see how bad the surface was. click on the next picture to see all the close ups. |
|
Click here to see the condition in close up |
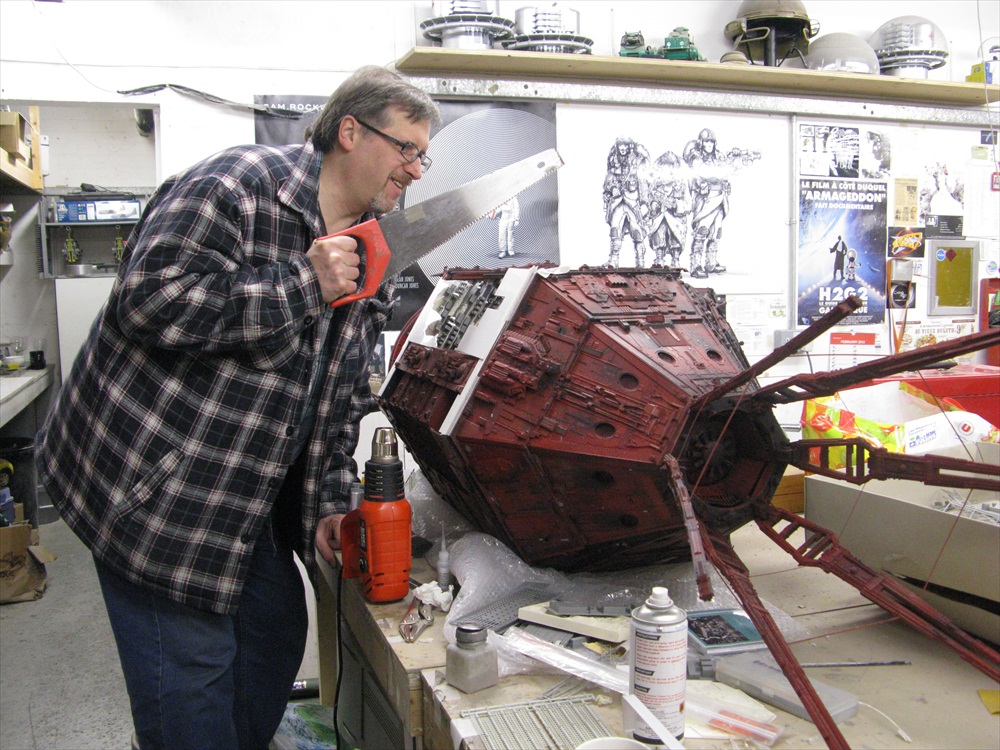 |
A nod to a funny photo someone took of one of the irish crew pretending to cut my Pachyderm model from Space Truckers in half with a rip saw. (I must dig that out and post it on the truckers page) |  |
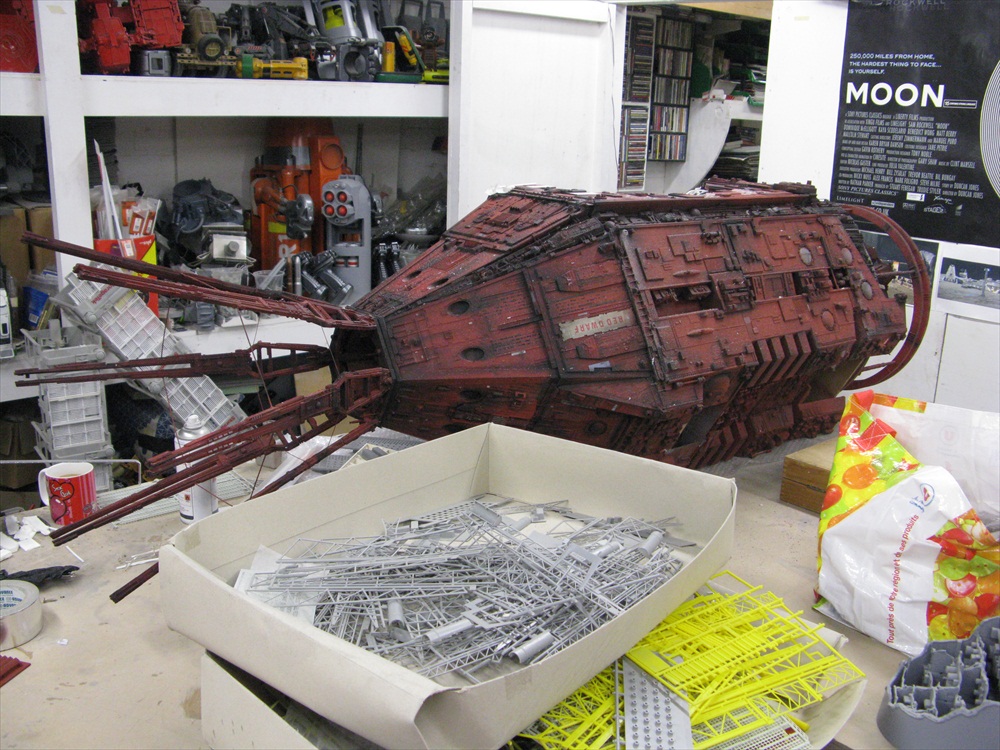
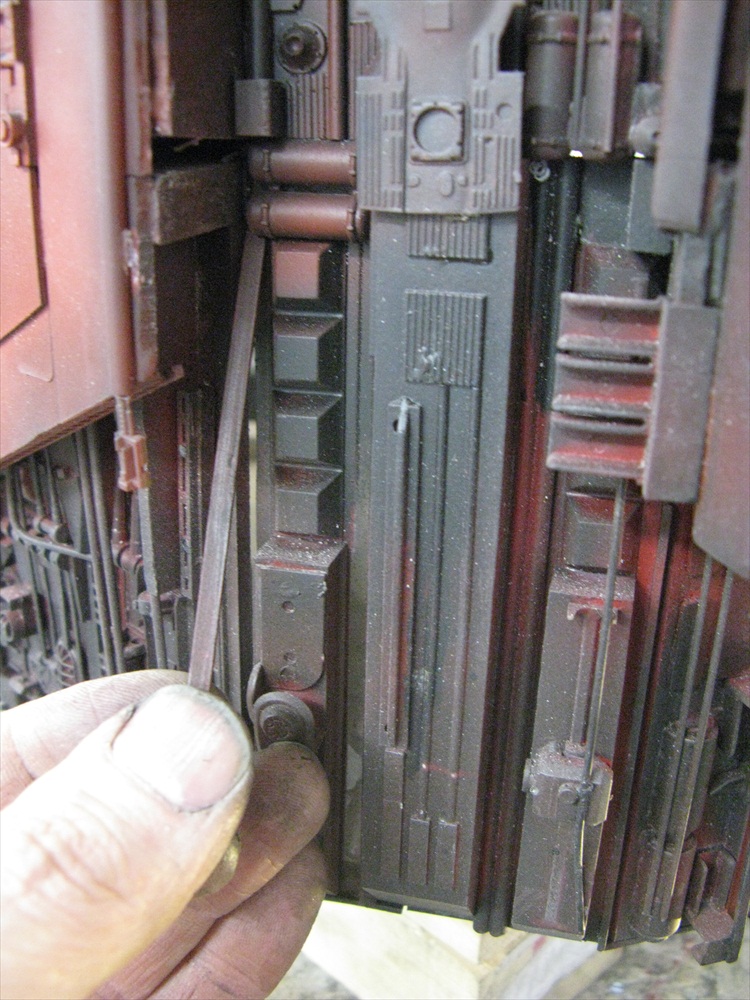
That large scar was a piece not to be found in the box of bits we had, so I made something else fit over it.. eventually. That white stuff? Its not FOAMEX is it? NB. there were no built in access panels in the main section. the scoop was removable and the engines were removable and that was it! None of the side panels came off, they were all super-glued perspex. So I could only go in from outside, with a chisel/jigsaw/crowbar/whatever. you couldnt even trickle any DEBONDER in there. |
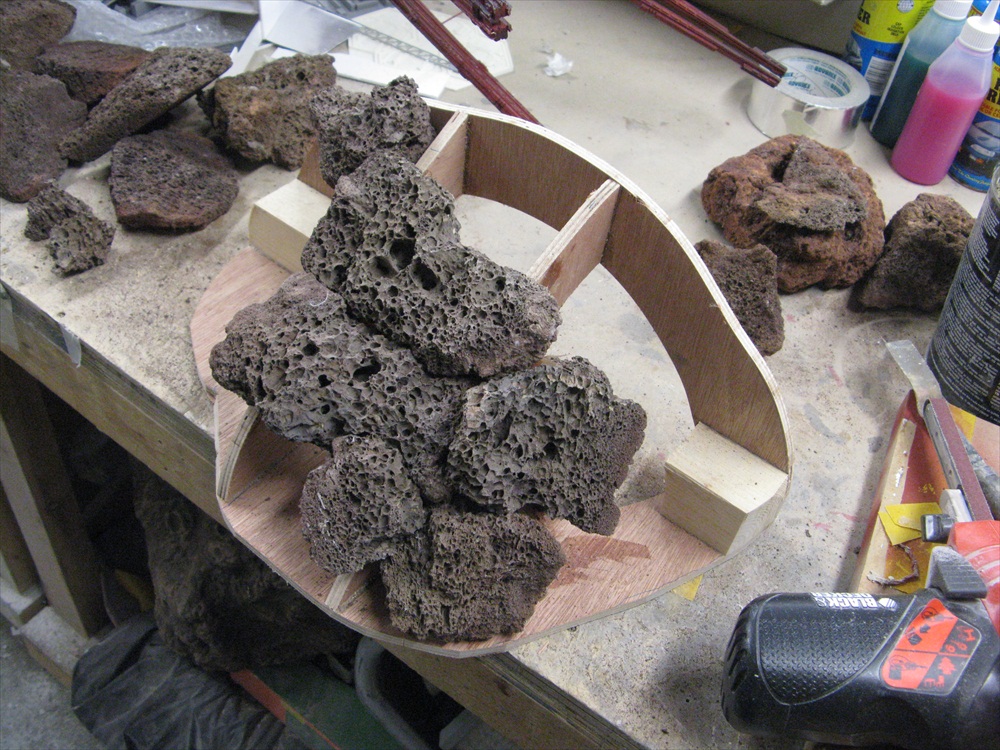 |
Originally, blending aquarium pummace was tried. but it was going to take too long, be too heavy and there wasnt as much control as starting from scratch. | 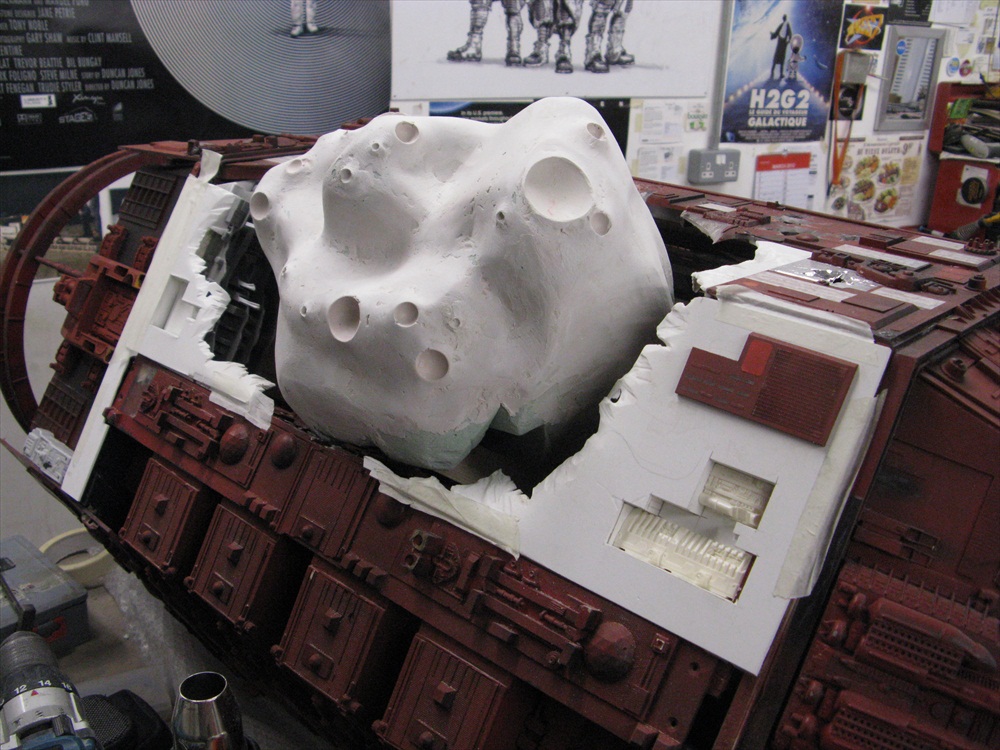 |
You can just see a bit of green eurathane foam left underneath the car body filler. Thats after one days work. |
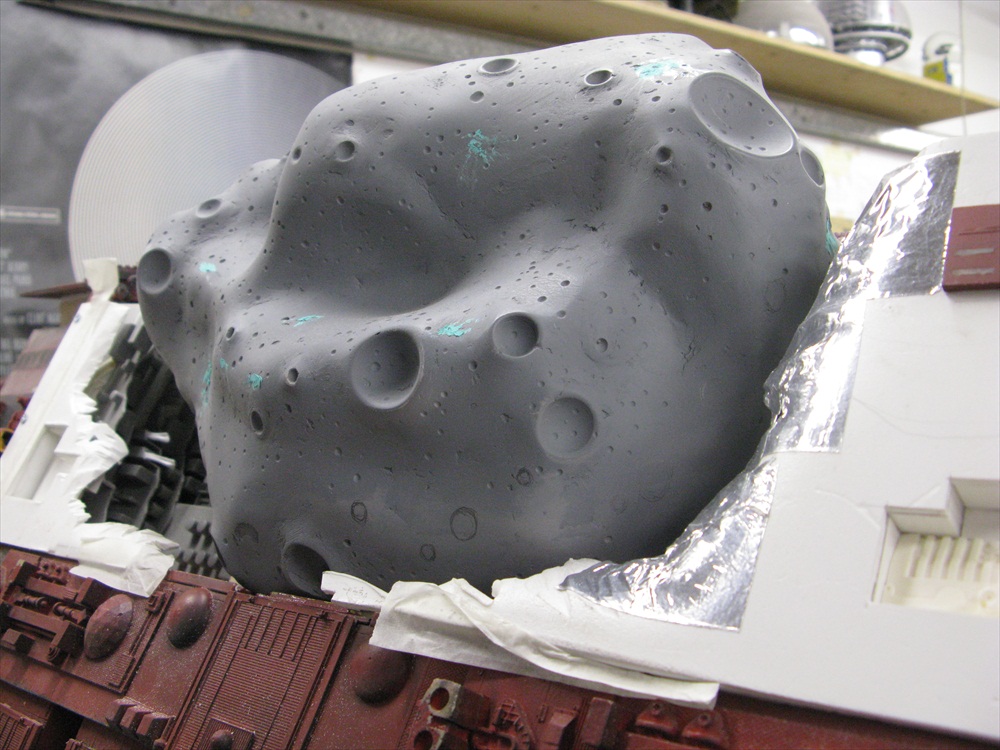 |
Double checking for blank areas. You can see where Ive pencilled in where I think it needs more little craters. | 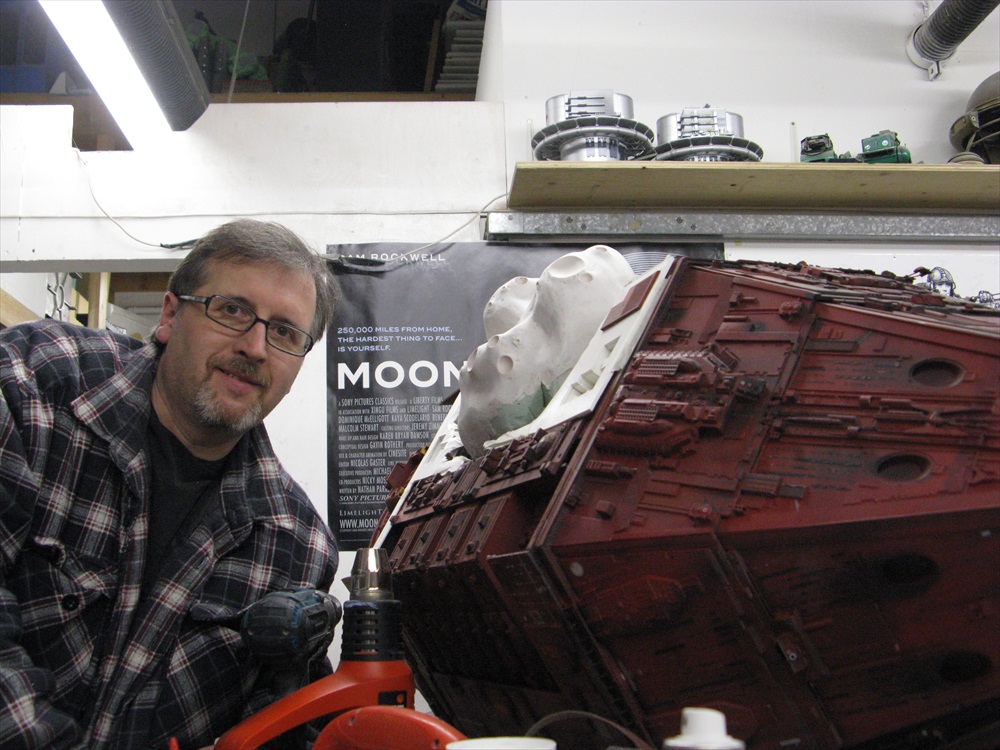 |
PROOF! Yes it was me that did the Red Dwarf ship itself refurbish. |
 |
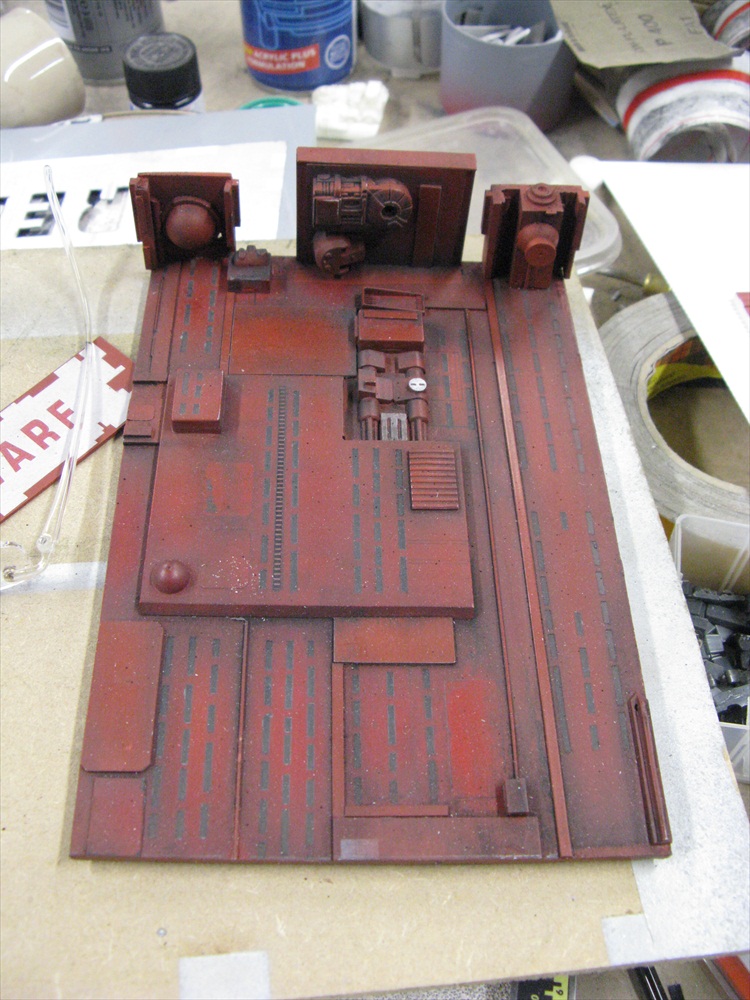
Offering up the Asteroid to see what areas are still exposed and need detailing. |  |
A close up of the Asteroid. I researched online for this and the really big ones are a lot like this. theres one the size of Greater Manchester not dissimilar to this. |
 |
A small piece of the old Dwarf stuck there just so's it ties in a bit. there wasnt much left that was good enough to use. | 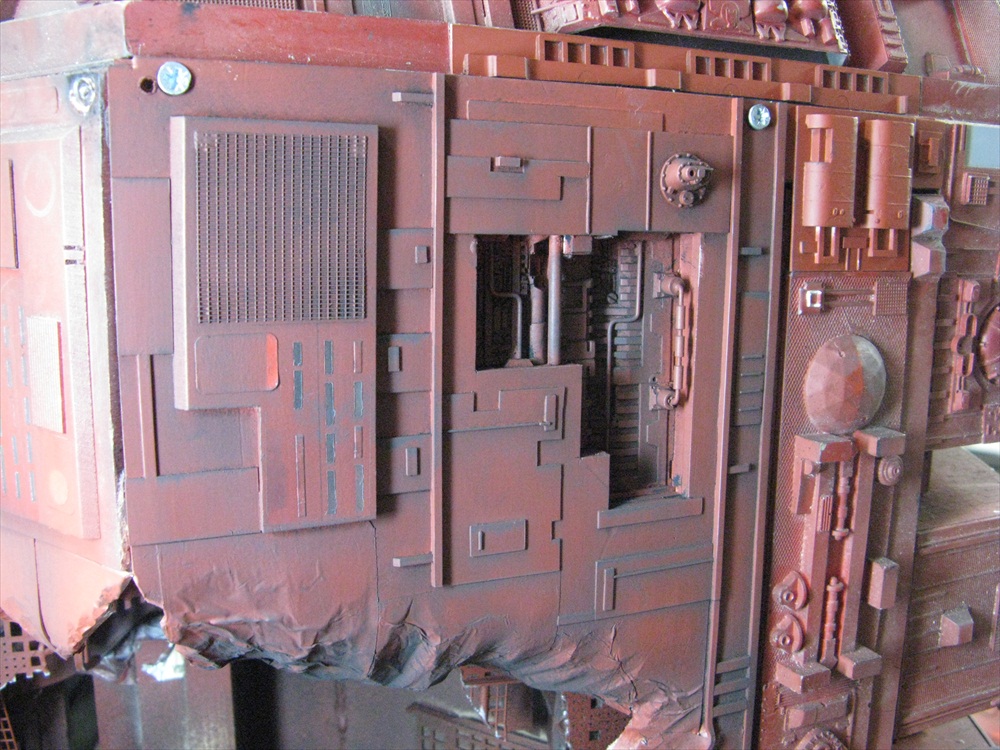 |
The same area, now paintedand weathered. |
 |
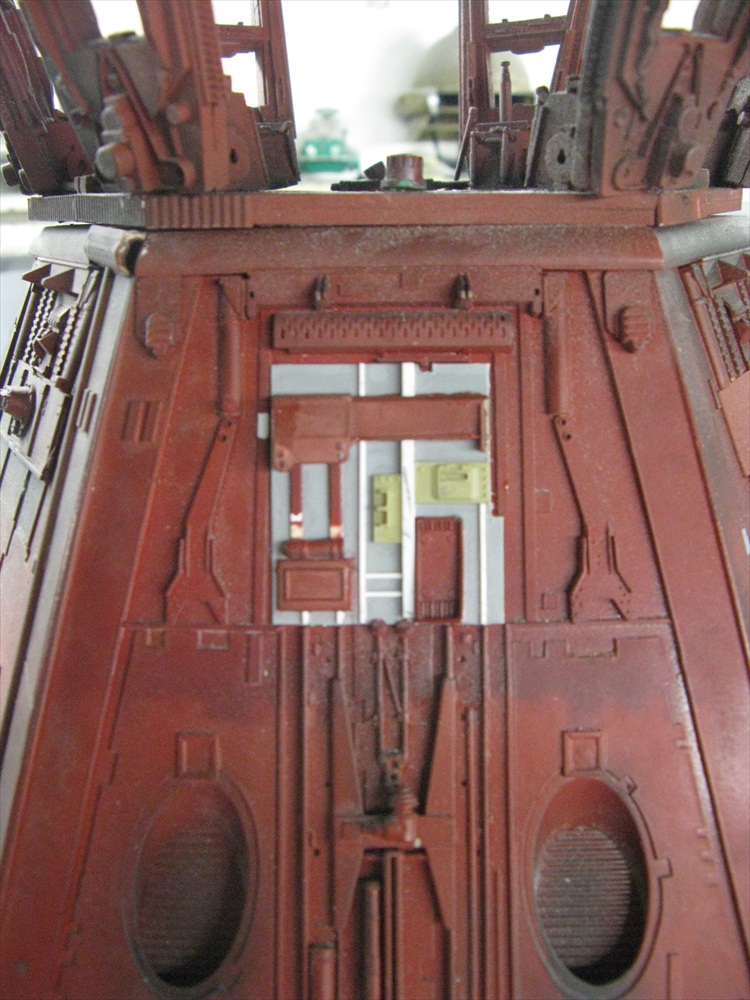
As it turns out, one of the unfilmed facets. due to it proximity to the stand(you can see one of the inner frame entrance ports in the cenral recess) | 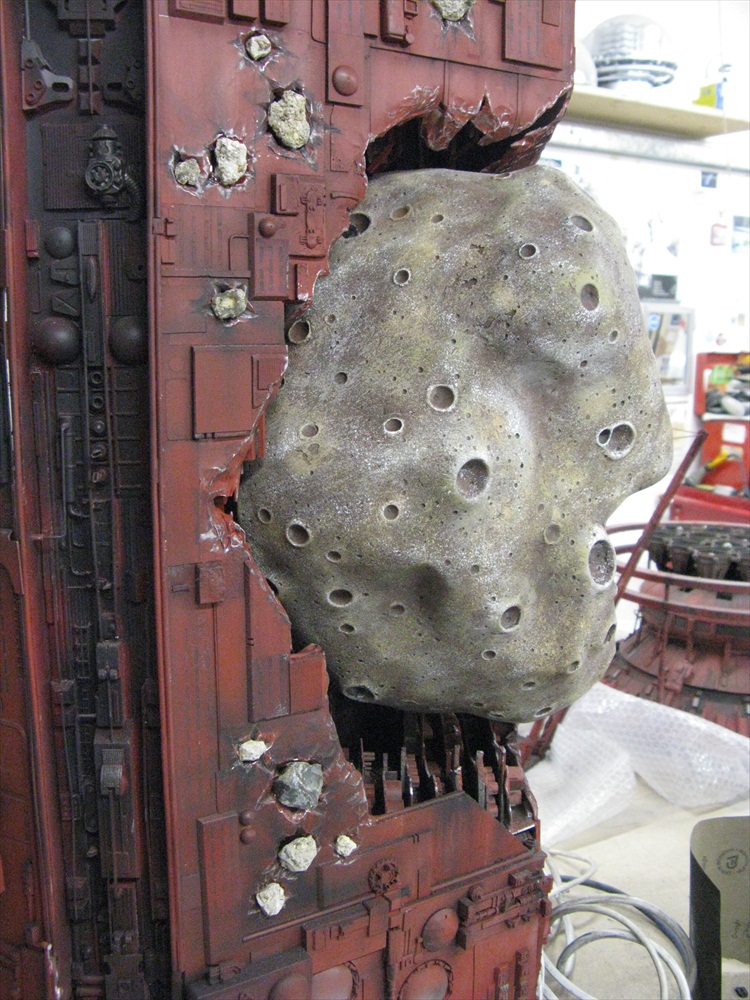 |
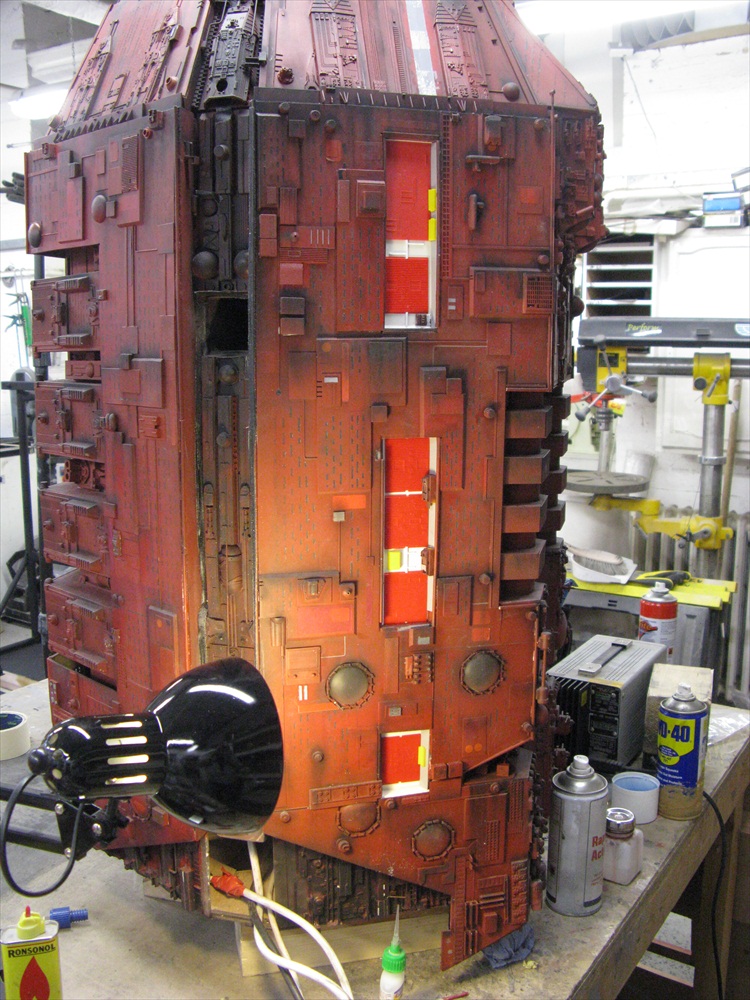
Unbolting the engine array so I could stand her up on her end was a no-brainer as far as I could see. Meant I could work on all 6 facets on my own bench. |
 |
Just one of the many areas that needed sprucing up. | 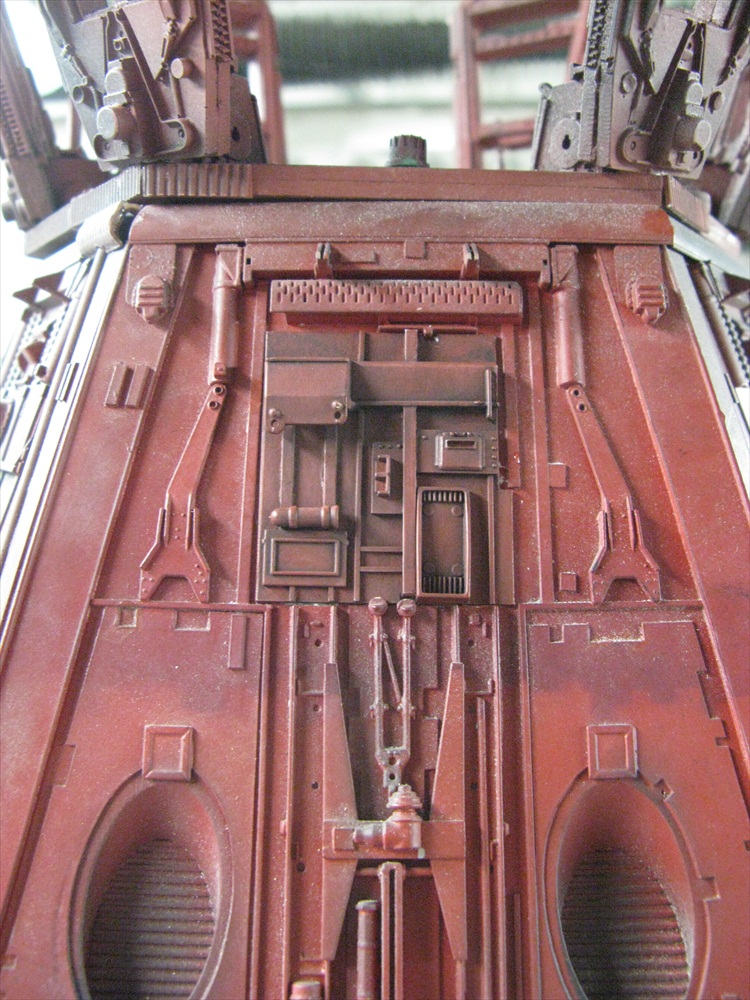 |
...and after paint....any slight difference in colour was only going to help with the break up of sections and panels. |
 |
The places that were good enough to leave alone on the ship were few, but they set the standard and there was no point in going further than that mainly because there wasnt time and they needed to blend in. not a critisism of the previous modelmakers as I dont know how much time they had either. | 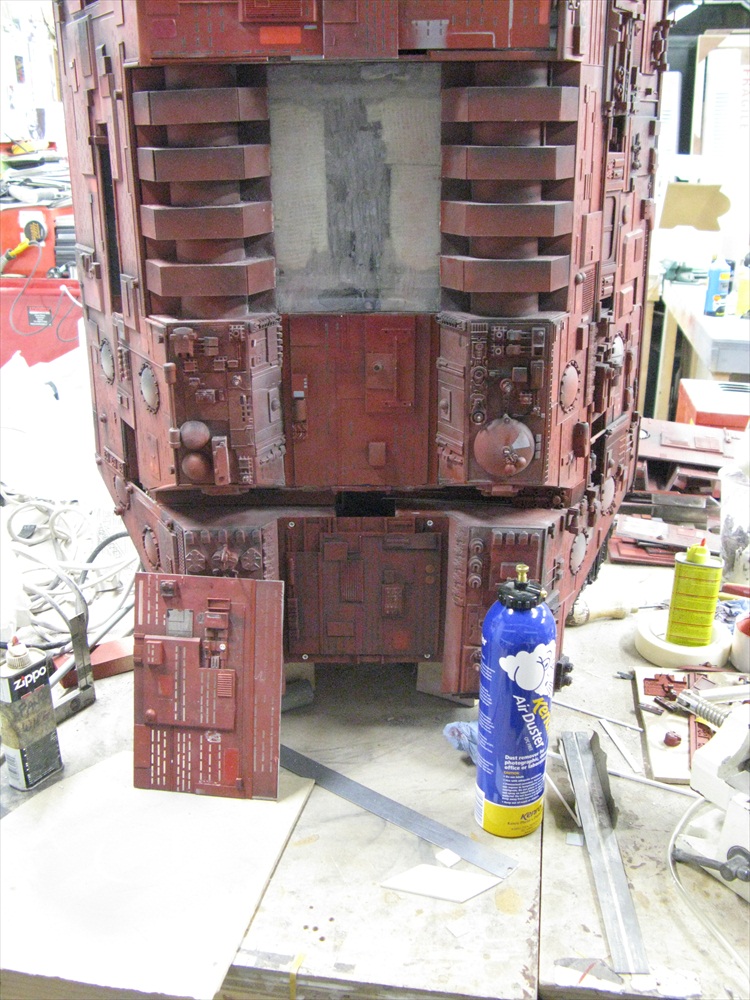 |
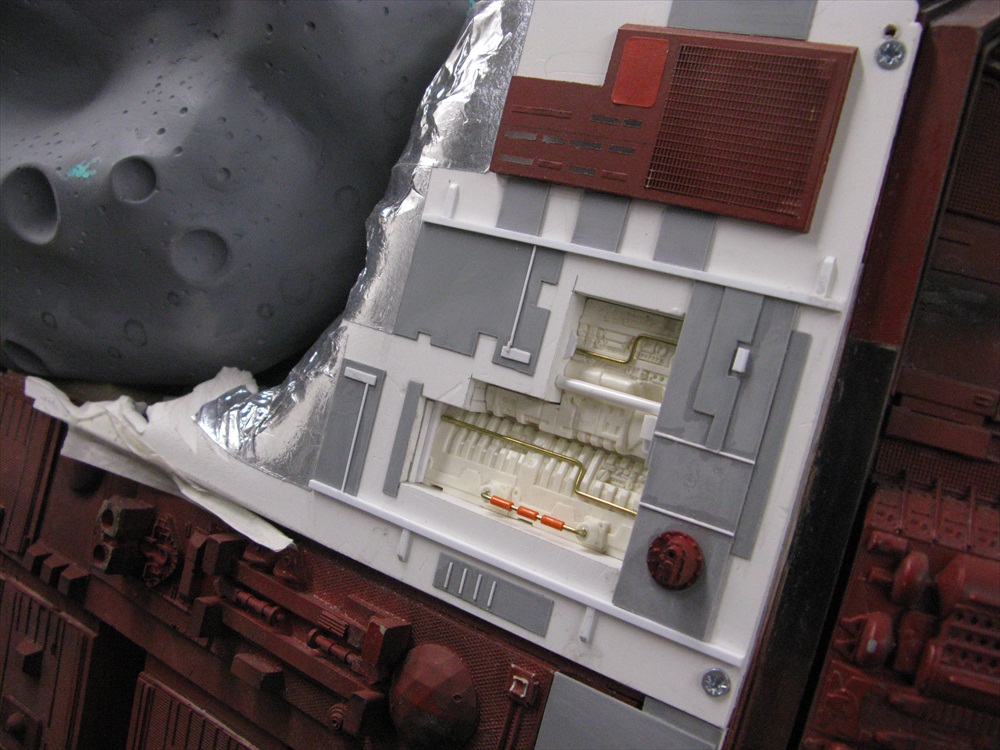
The panels home was an area in much need of replacing, but as not all areas could be cut out, scraping off all the paint back to the original perspex was the answer, to allow for the light to pass through to the (new/old) windows.Three panels in the middle there are also from the old ship but not as was. each was itself made up of pieces and widgets?wiggets/greeblies |
 |
Blocking light leaks where possible with sprayed plastic strip. primer then silver then red oxide. Again, it was impossible to access the model from inside for this. taking all 6 facets off and then refitting for future access (lightbulb changes for one) wasnt going to happen in the time and/or budget. | 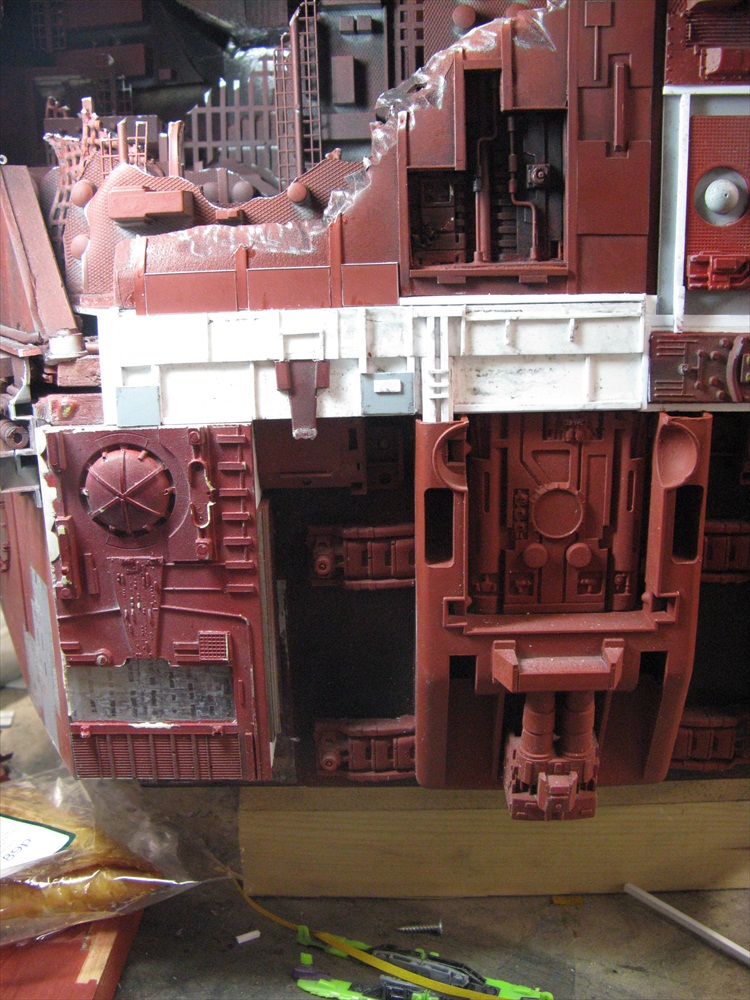 |
Things were a lot squarer in reality (now), this is just lens distortion of the camera. I'm abou to spray this band (next pic) |
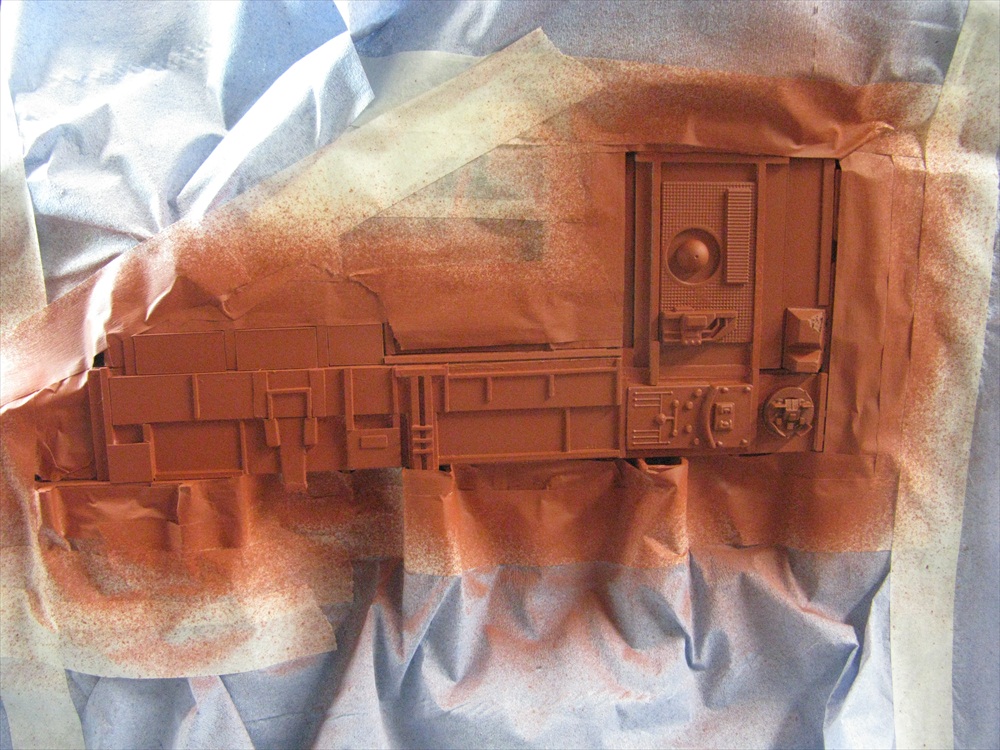 |
Another area reworked. The Red Oxide paint looks stark until its been weathered with black powderpaint and taken back with superfine 0000 grade steelwool.. | 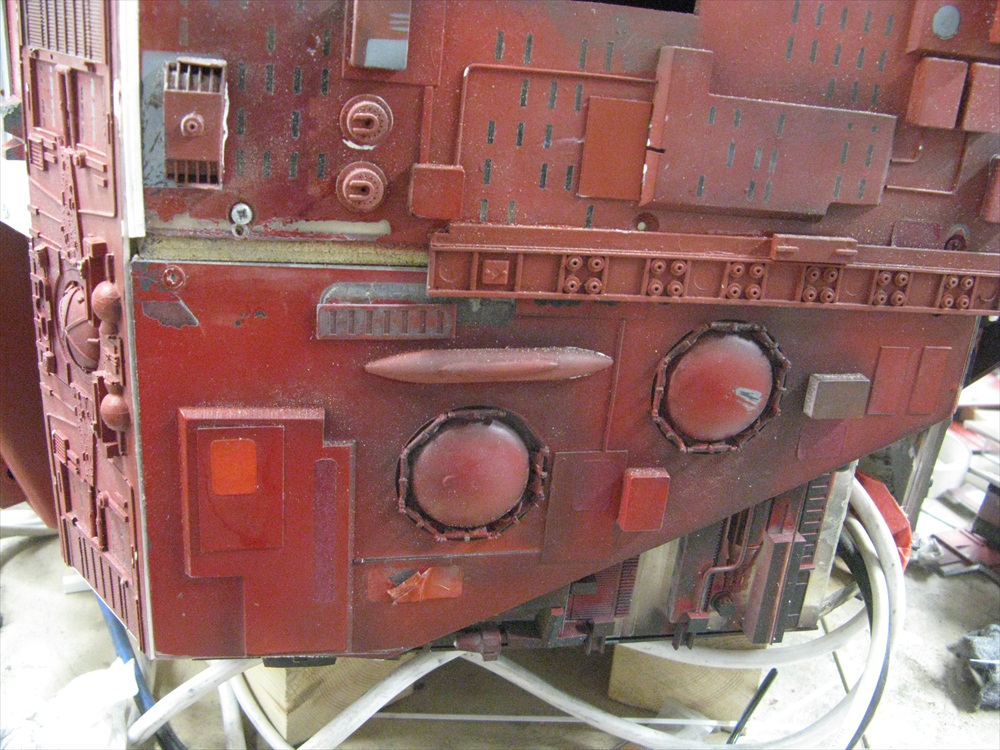 |
Some damage there wasnt time to replace completely, so touching them out by hand and heavy weathering was opted for (like that scratched dome for example) |
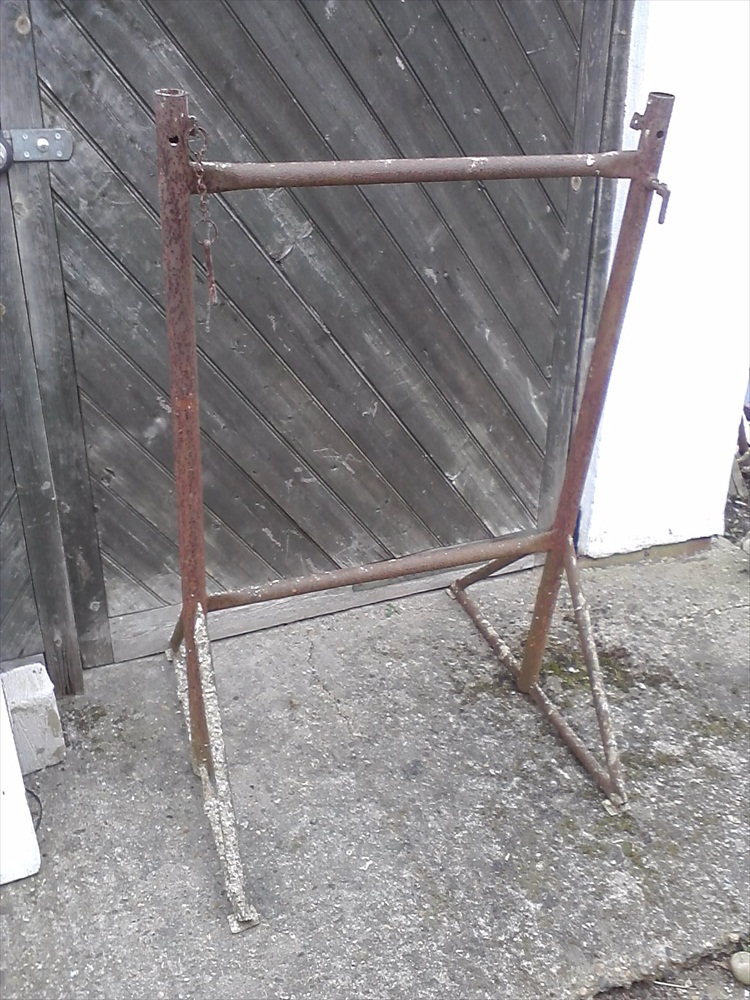 |
My landlord is a builder and had some old stands he was glad to let go. | 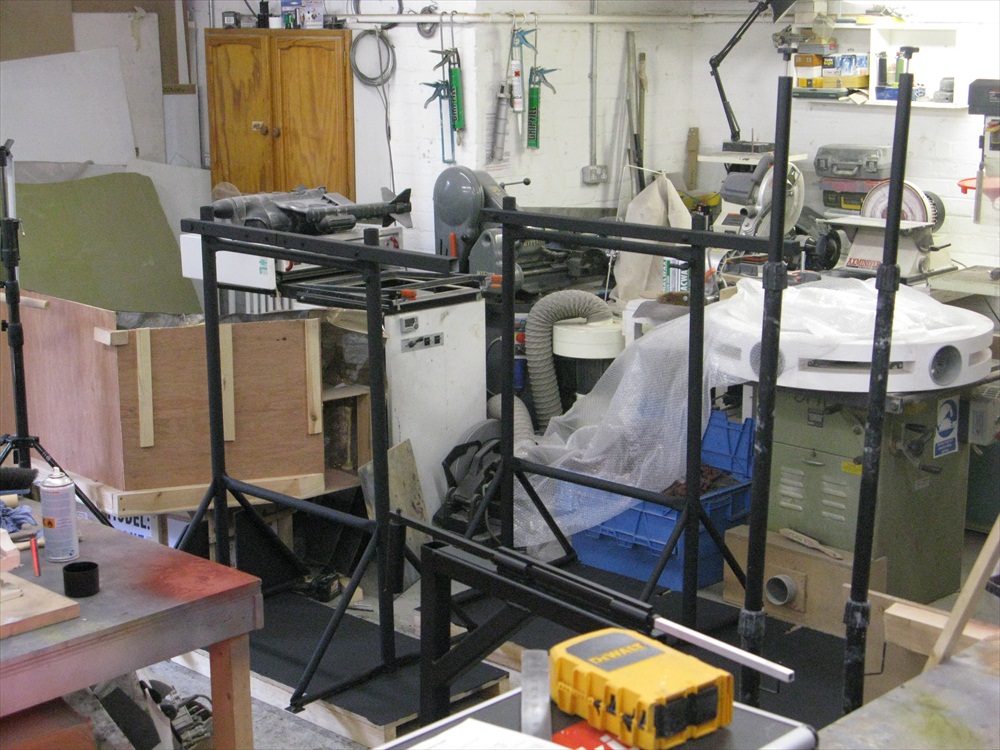 |
After a wire brushing and some paint I could utilise the stands and bolt extra steel onto them (theres box steel inside Red Dwarf) Rather than measure and hope for the best, I positioned both stands inside the Red Dwarf frame and then bolted the two stands together to make one. Here, they are both still separate.
|
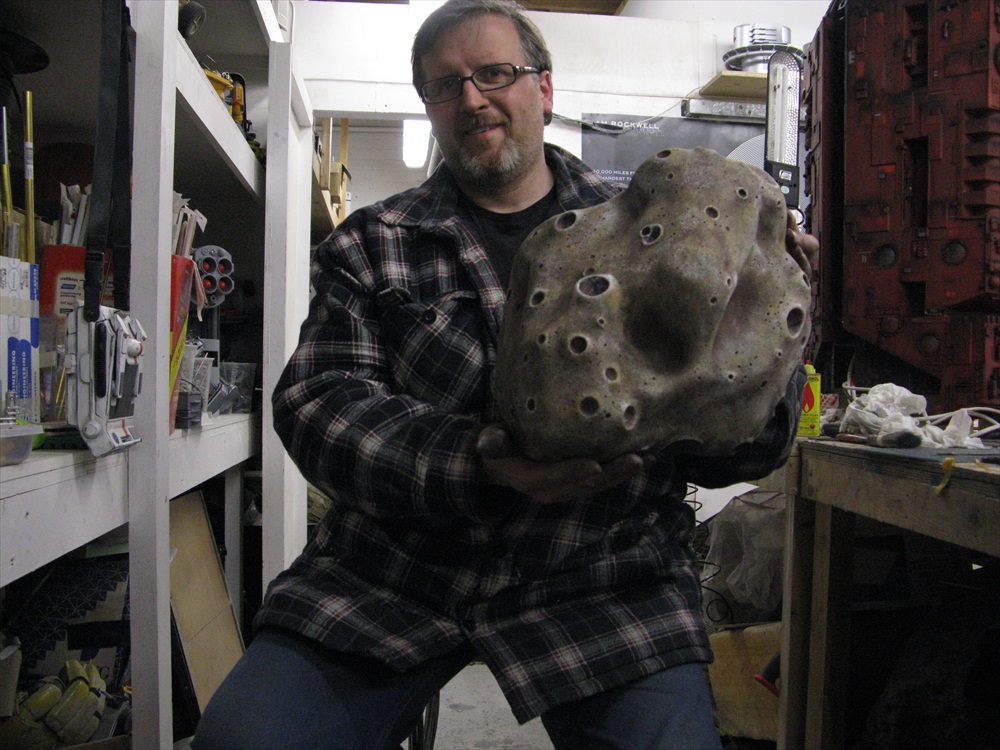 |
Thats one hell of a haemmoroid, I mean Asteroid (and the thing with the craters in it aint bad either) |