Home
Product
Advertising
Television
Films
Sculpture
What could be better than having loose briefs...I mean A loose brief. Make a funky fast looking streamlined(ish) spaceship and you've got about 10 days. Make it up as you go along
What COULD be better? Well, Designing it and SCRATCHBUILDING, but there wasnt the time for that. I do go on about the time factor a lot, but hey, this is RED DWARF and there's NOT
really not a lot of money!!
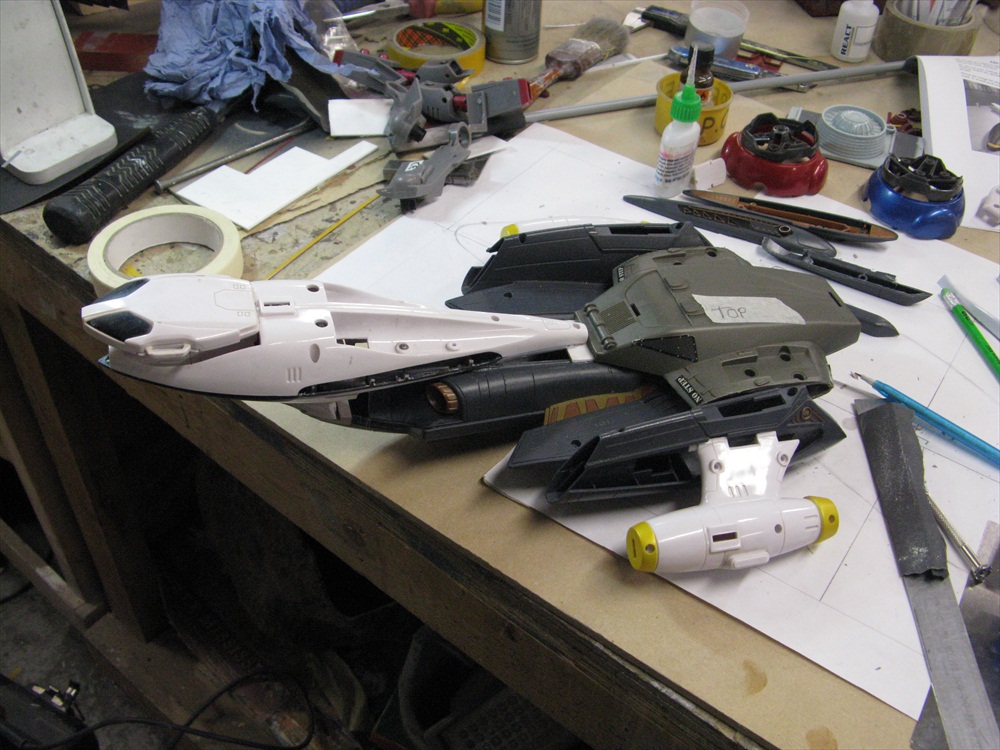 |
All these butchered toys were bought at APPS FARM carboot sales held every sunday. Just offering up some engine pieces....naah!..they dont work at all. Make it look smaller. |
|
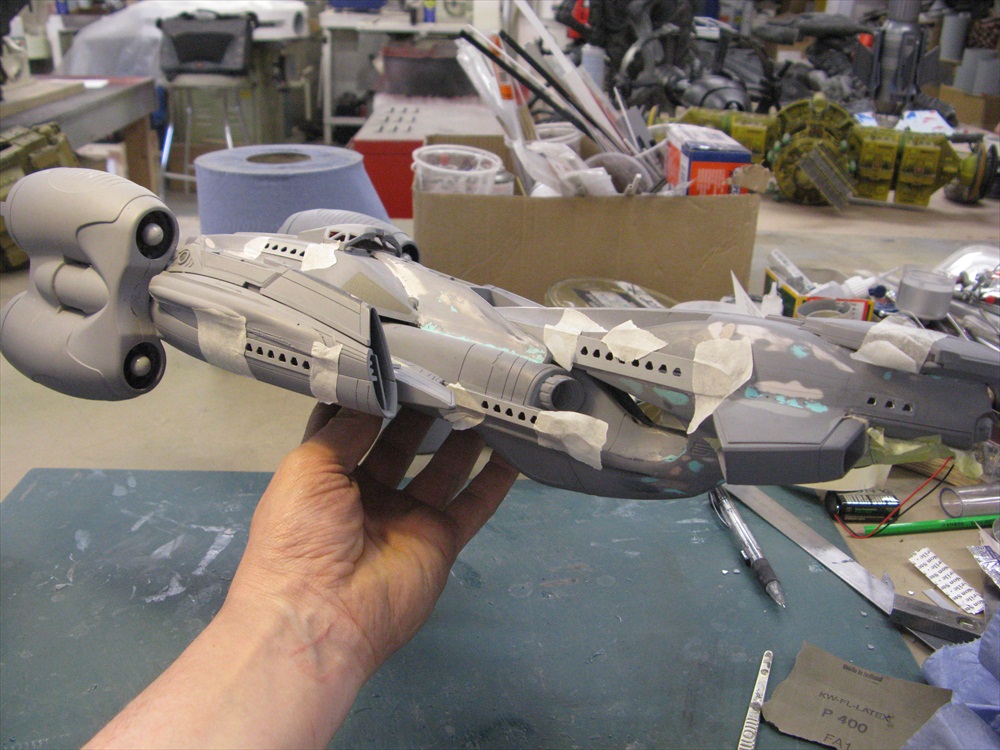
This was as far as I was going to take the basic shape. Bill said use the toy binoculars Id bought from the car boot sale. in hindsight, it did hide the Star Wars toy a lot better than paint alone would have. I'd changed it a bit...but it did need changing more. |
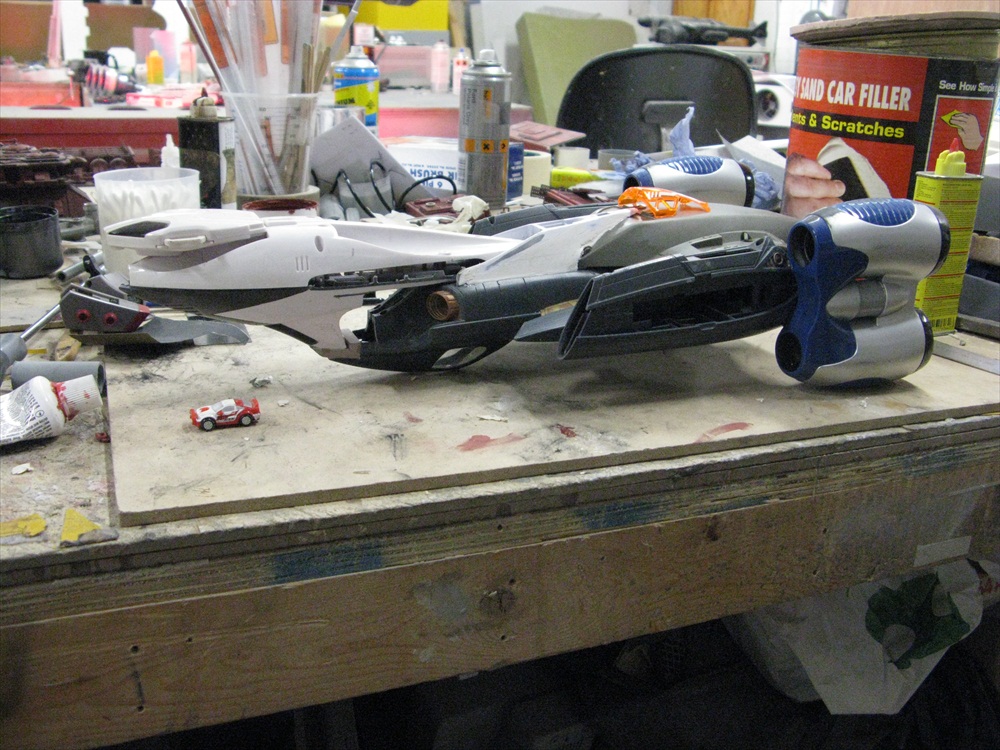 |
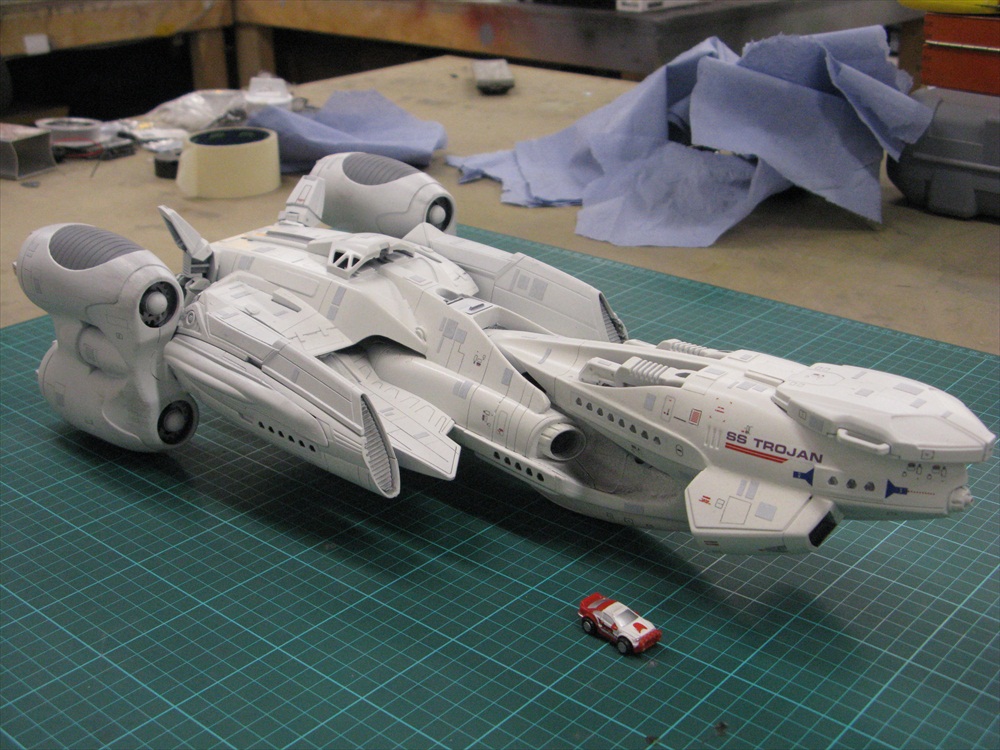
Those binoculars might look odd now, but they'll look fine once blended in and painted. Always mindful of the scale, theres a toy car I had nearby as a guide. Works out to about 1:200 scale | 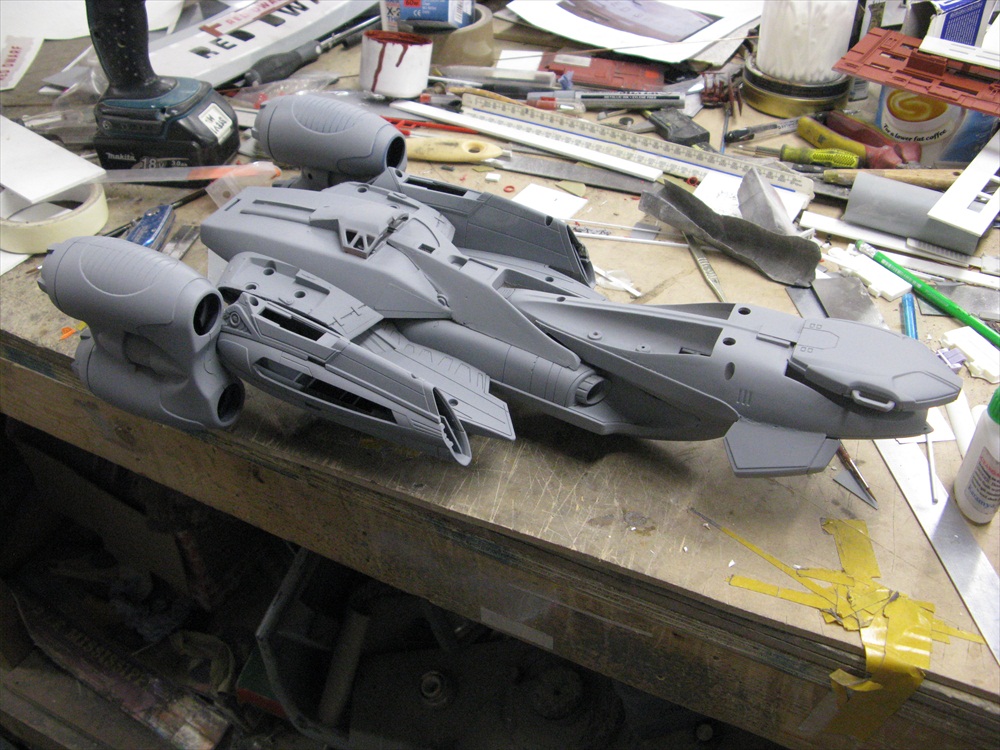 |
The First coat of plastic primer brings it all together...and highlights where it still needs work. |
 |
A plot device was to have this clamp around the Trojan and then the tractor beam eminate from the front of the clamp. The Trojan could also have been composited into the landing bay with the clamp. Sadly, never used. Bill Pearson made the clamp. | 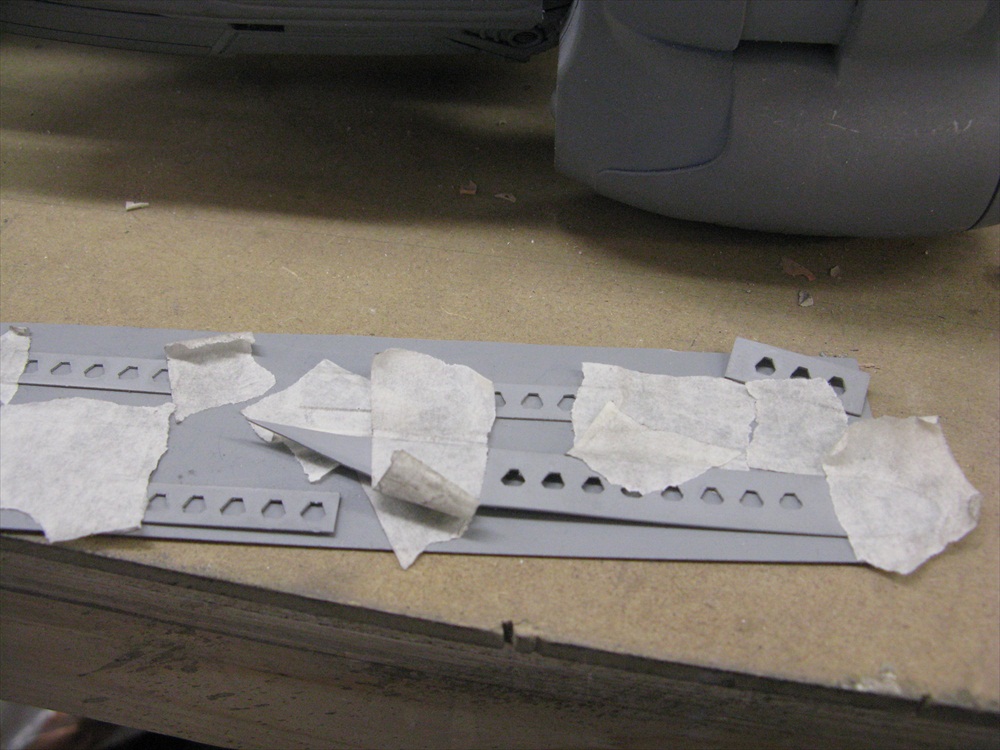 |
With no turnaround time for having brass etchings done (or laser etching or 3D printing) I knifed out the windows from .5mm styrene. These tied in with the shape of the windows on the set. |
 |
Just masking taping the windows in place until their position is finalised. | 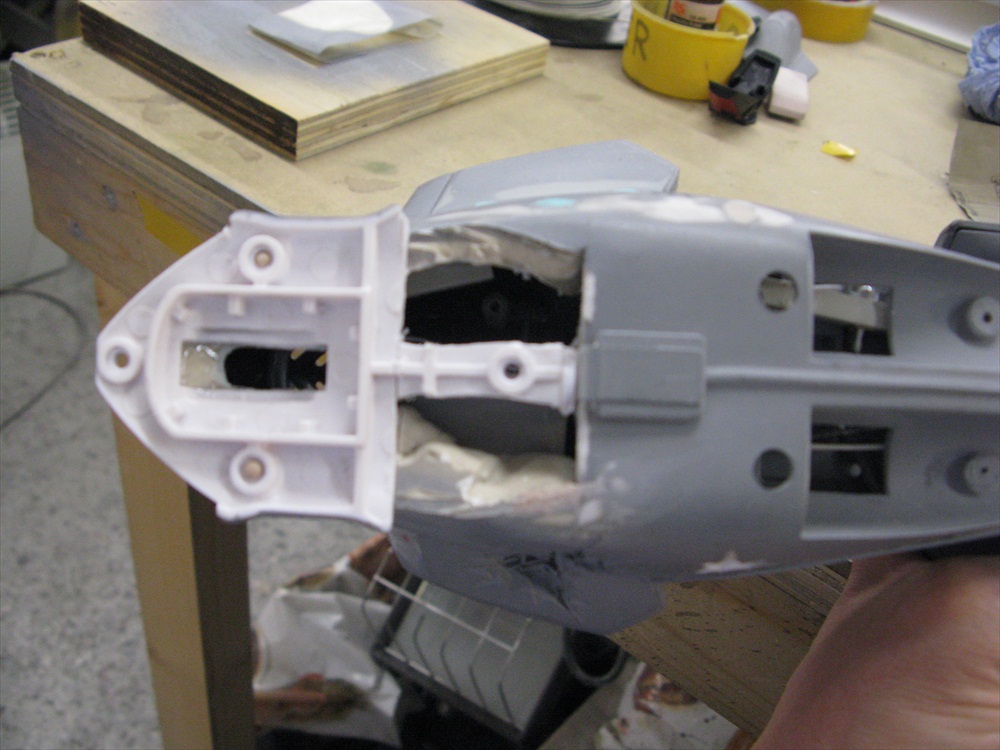 |
With wiring and lights going in, I need to make as much room inside as possible, so all that filler will have to go. Removed with a dremmel. |
 |
Just like the rear windows on the enterprise TNG, I put some windows here as a 'homage' | 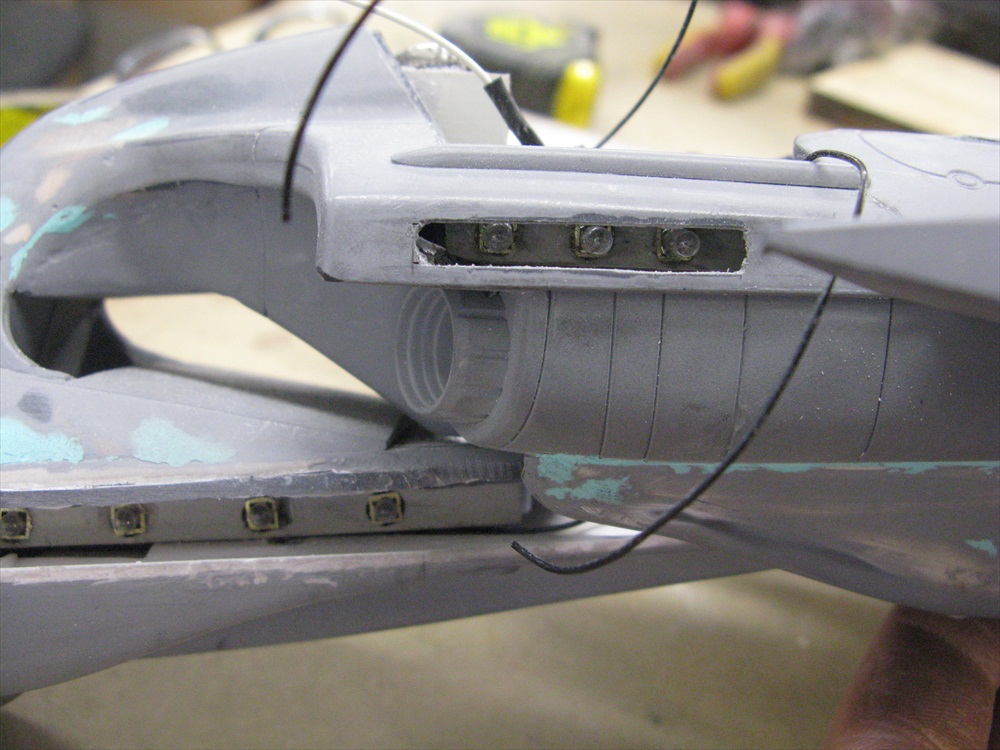 |
You can see the 'grain of wheat' bulbs that we used. these give a nice glow and colour temperature, but require a lot of power compared to an LED and as we weren't taking a powerline from the trojan, small batteries(and thats all there was ROOM for)meant a limited number of bulbs to give the batteries as long a life as possible. |
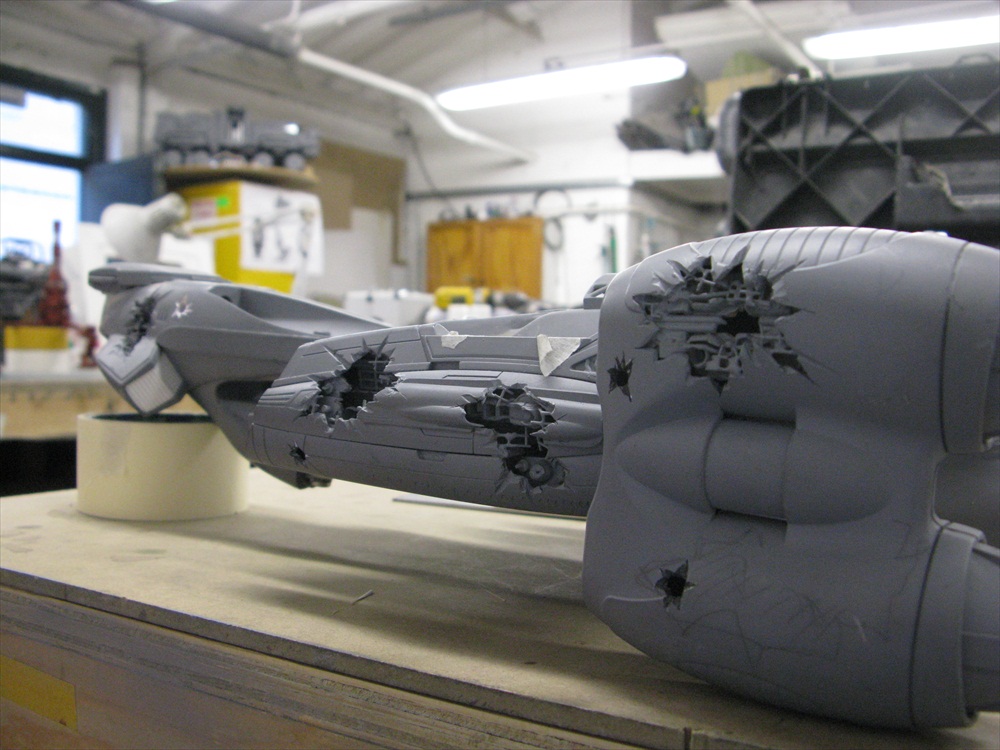 |
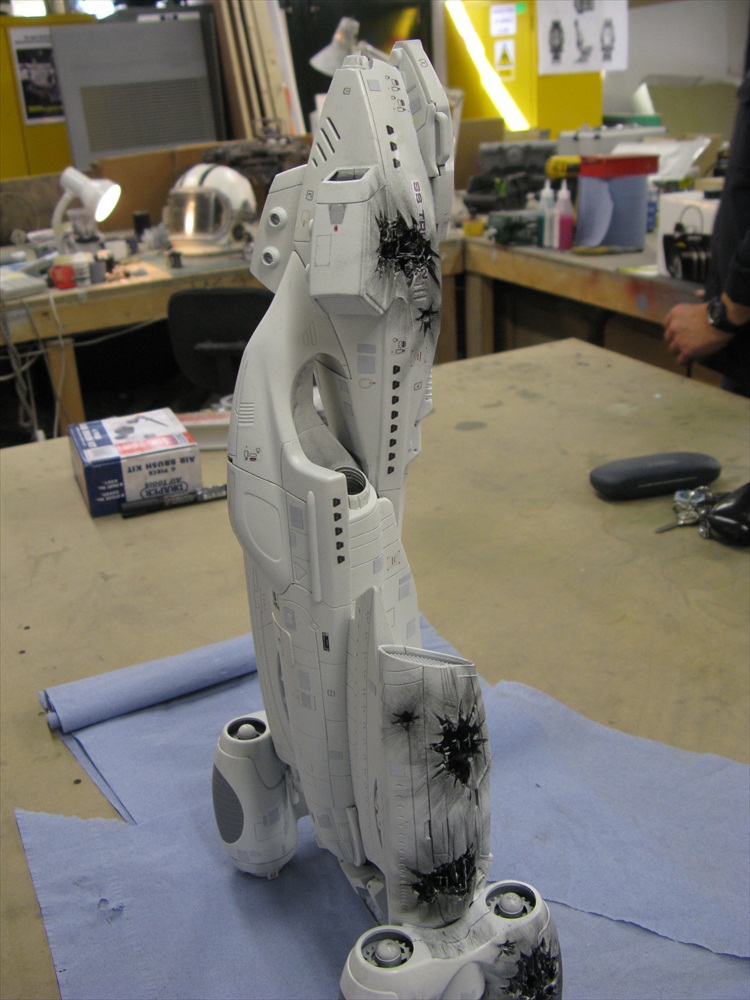
You can see Bills damaged areas that he cut into the Trojan. | 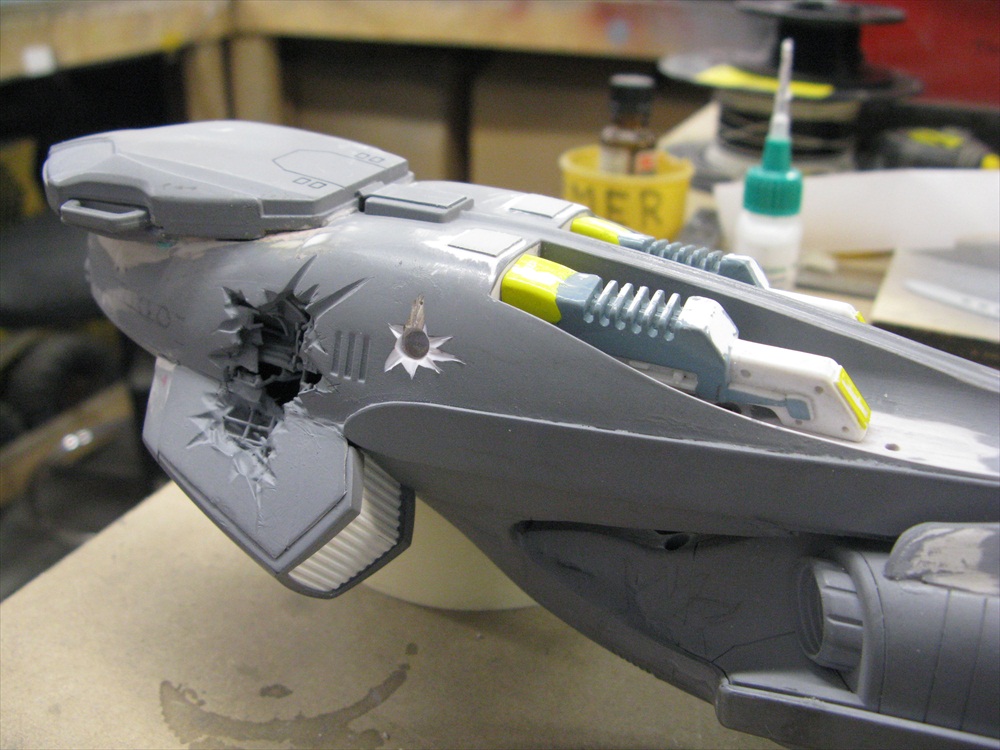 |
Close up on the damage and also of a shape used to fix a space bugging me for some time. Part of a toy gun (x2) which Bill donated. I asked him could I have them and he said yes. |
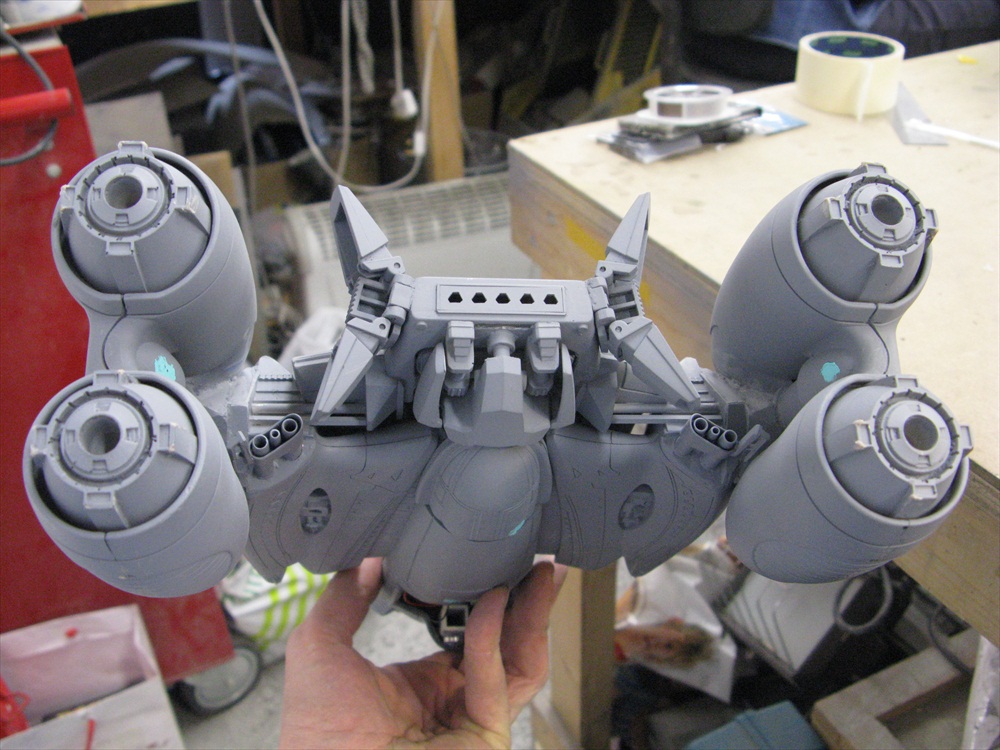 |
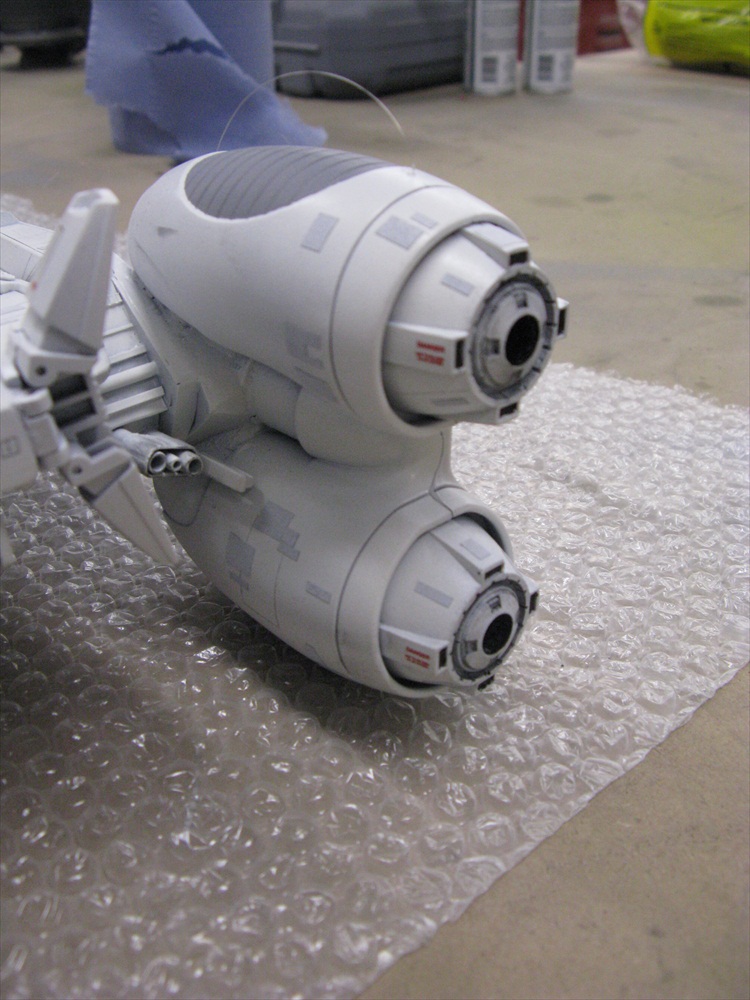
These engine castings go waaay back and came off a japanese kit I brought back from Los Angelese more than 15 years ago. we used them on Space Precinct!! | 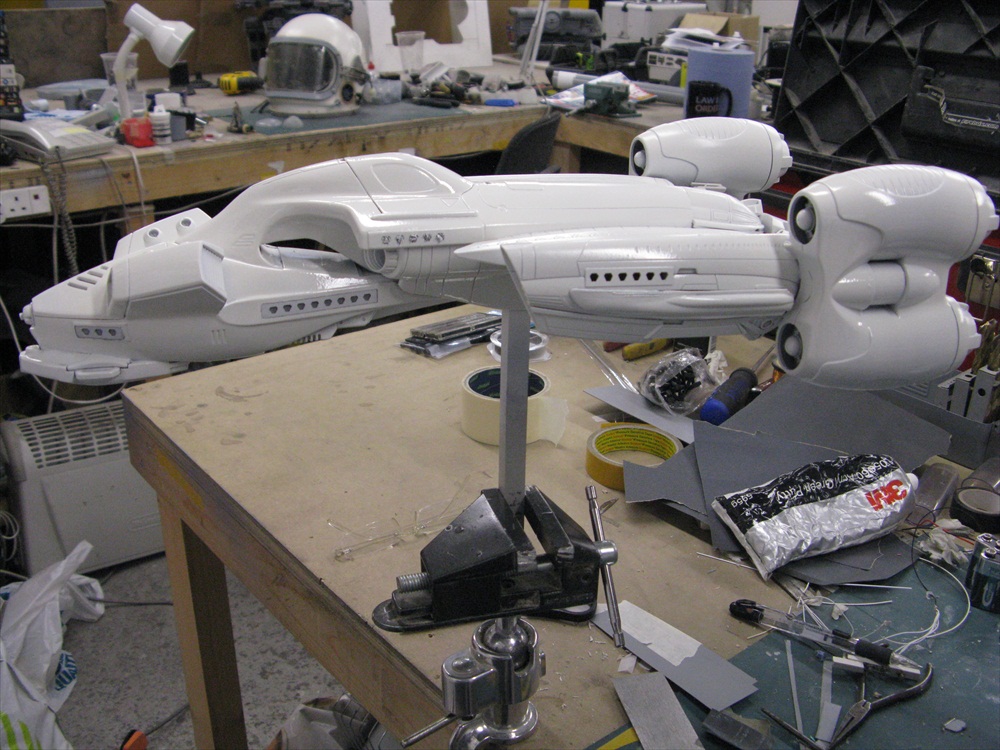 |
The final colour as requested by the powers that be. |
 |
In the vice and easier to get to the underside and panel her up. |  |
As the shape went, I think She did have some intersting angles. This is pretty close to an angle used when you see the energy tow-rope. |
 |
This is okay to look down on to the model from this angle because we're in the workshop. Guys on stage took our tips (ooh err) and never did this...always a slight up angle is best, as championed by the late great Derek Meddings. | 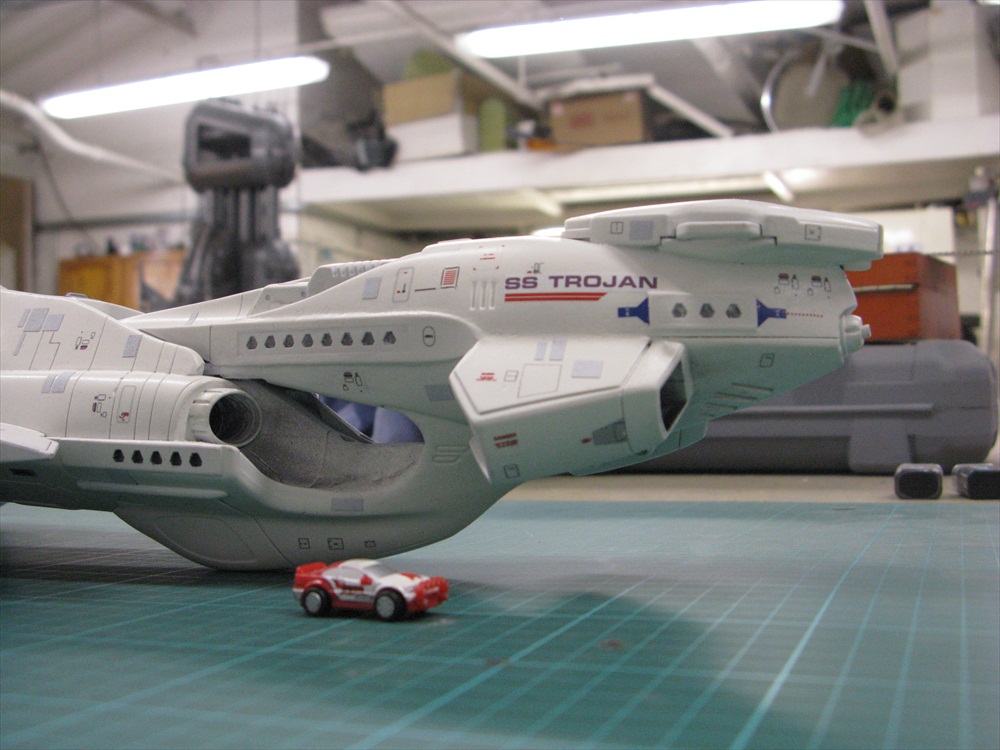 |
Whatever it is, its only got to survive a few hours of shooting on the stage and then it can fall apart. Though I'm proud to say, none of my models ever have. I always use way too much glue for THAT to ever happen! |
 |
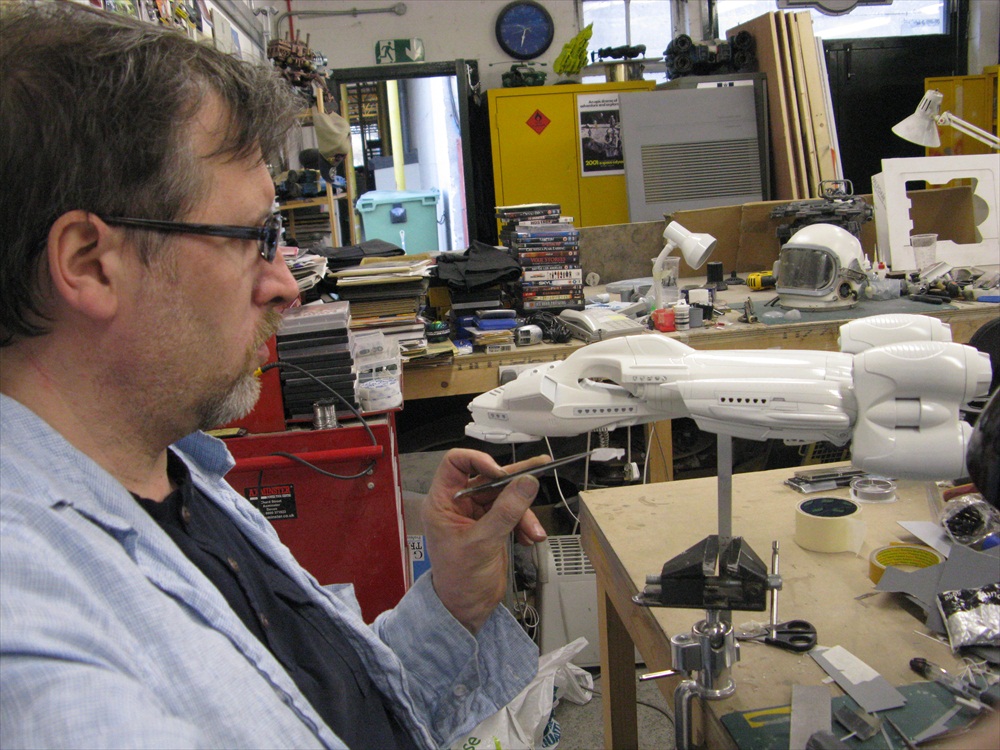
From now on its Bubblewrap at all times, to prevent any scratching. | 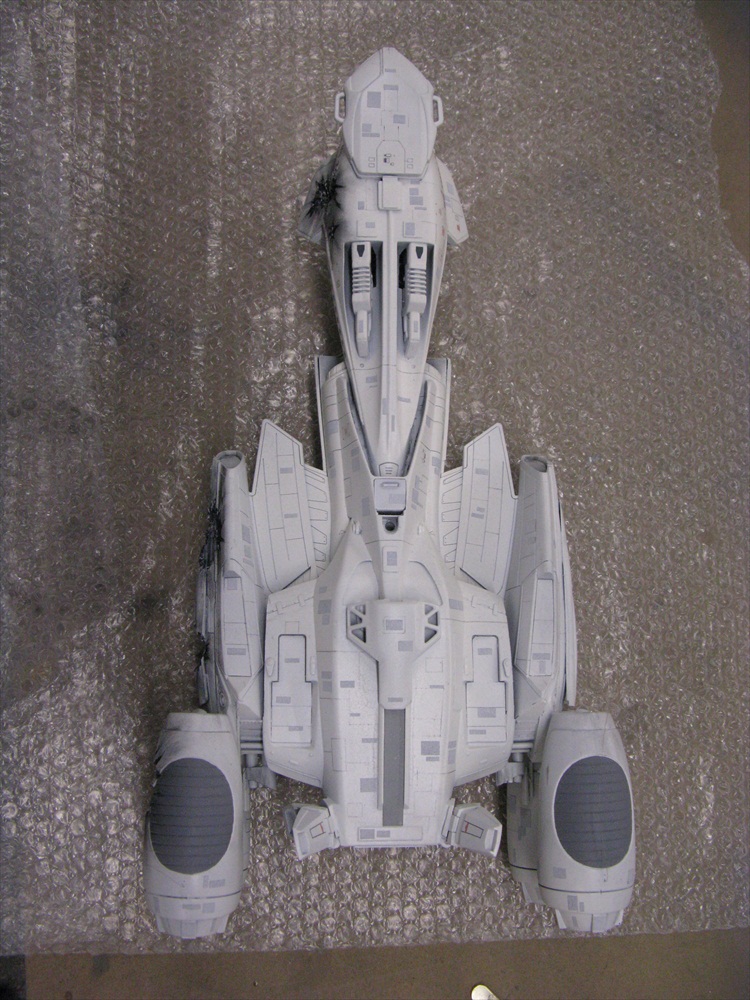 |
You can see all the panels on now. I think it was a good call. Doug insisted it needed them and it definitely looks better for it. Luckily, Bill had some CHARTPACK tape, which I was able to pre cut on the roll and then spray so there wouldnt be cut edges. |
 |
Theres always more you could do with a model like this....but you just dont have the time....because someone doesnt have the money. | 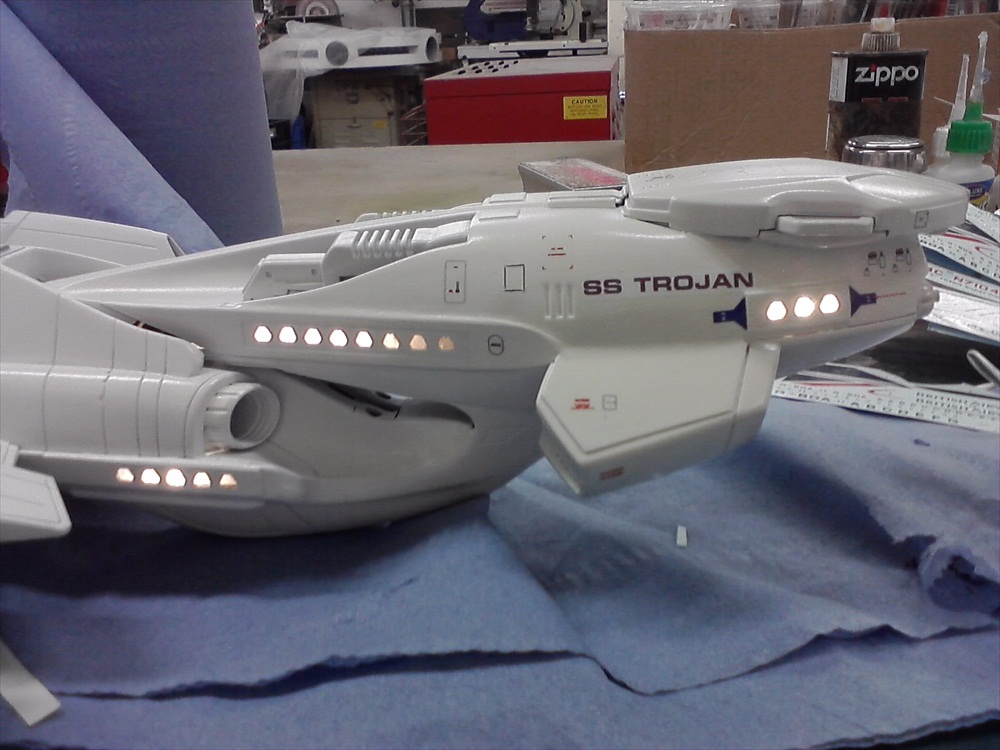 |
Those lights really DID work. Just never seen in the final cut...or in bonus features. |
